Sometimes, I can’t find my external hard drive when I need it most. After losing important files a few times, I found simple and reliable ways to back up everything, even when my hard drive isn’t available.
6
Email Myself Important Files
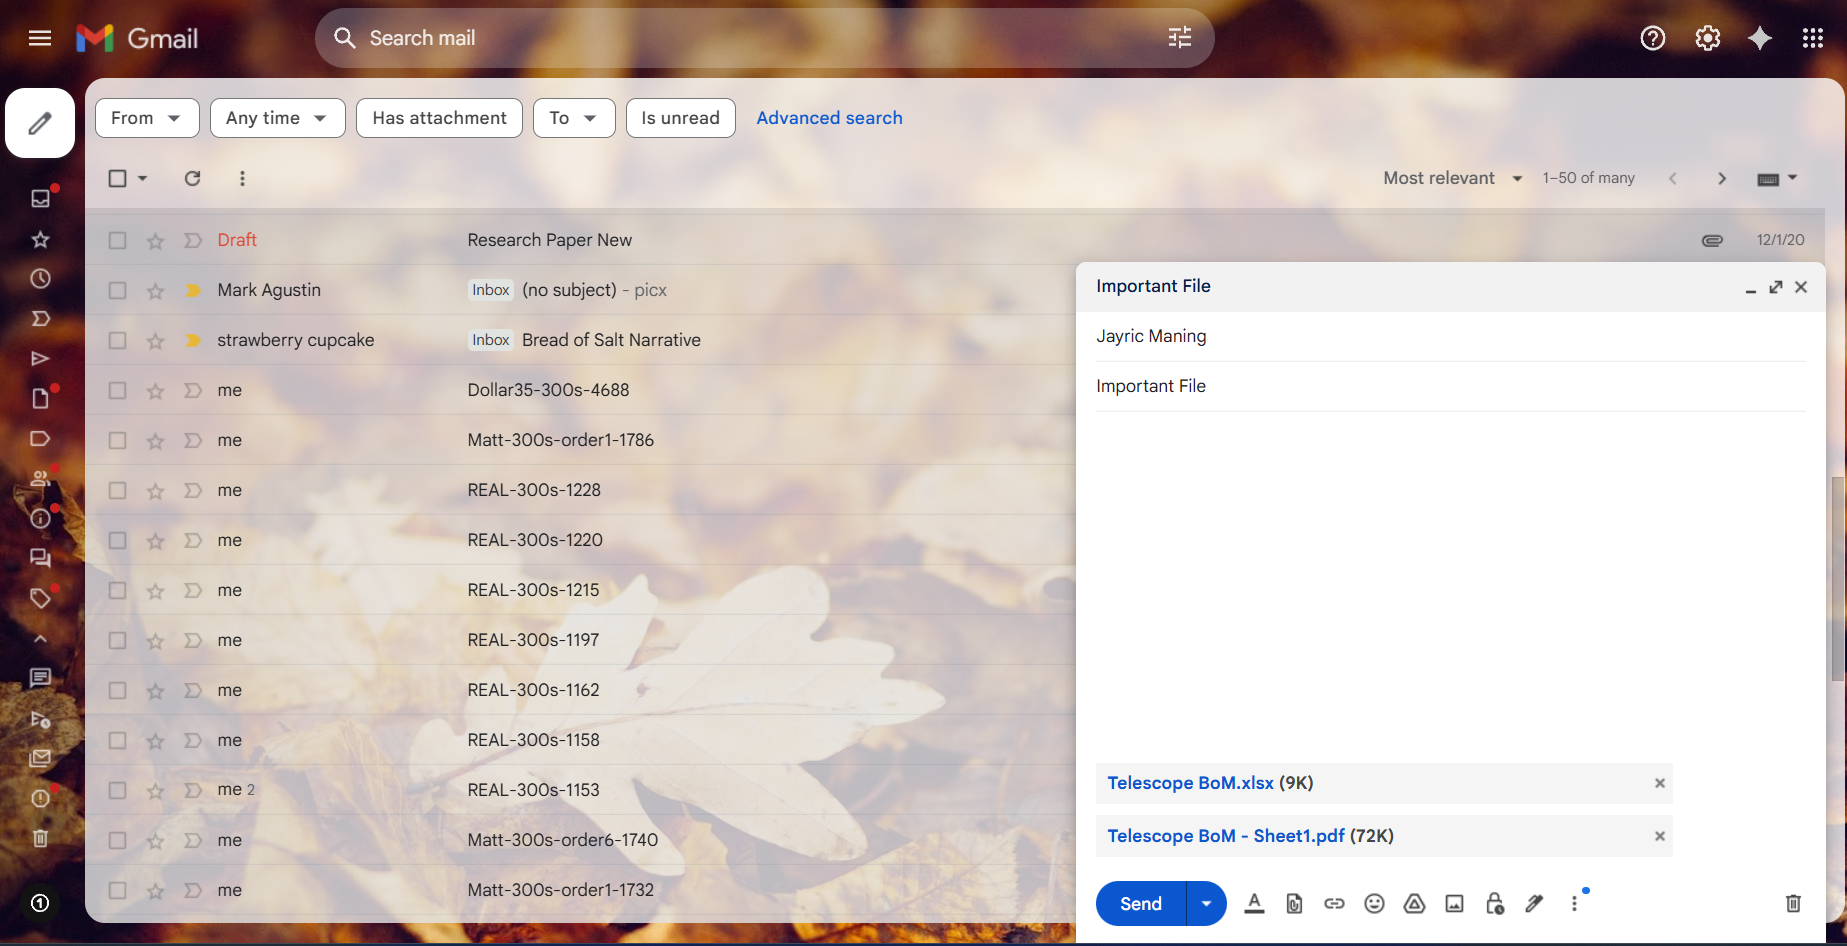
Whenever I need to back up Word documents, spreadsheets, or smaller PDFs, I just send them straight to my Gmail. It’s quick and fits right into my workflow, especially since Gmail is usually open in another tab while I’m working or doing research. I like that emails stick around for years, so I can easily search and recover old attachments if anything happens to the originals. This has saved me more than once when another backup let me down.
The main limit is attachment size. Most email providers cap files at about 25MB, so this method works best for smaller documents and photos. For anything larger, I’ll just upload it to cloud storage and email myself a link instead.
While I could save everything to Google Drive, I’ve found that a bunch of small files can really make it messy. Searching for an old document is just simpler in Gmail’s list view. That way, I don’t have to dig through endless folders.
5
Saving Files to Cloud Storage Services
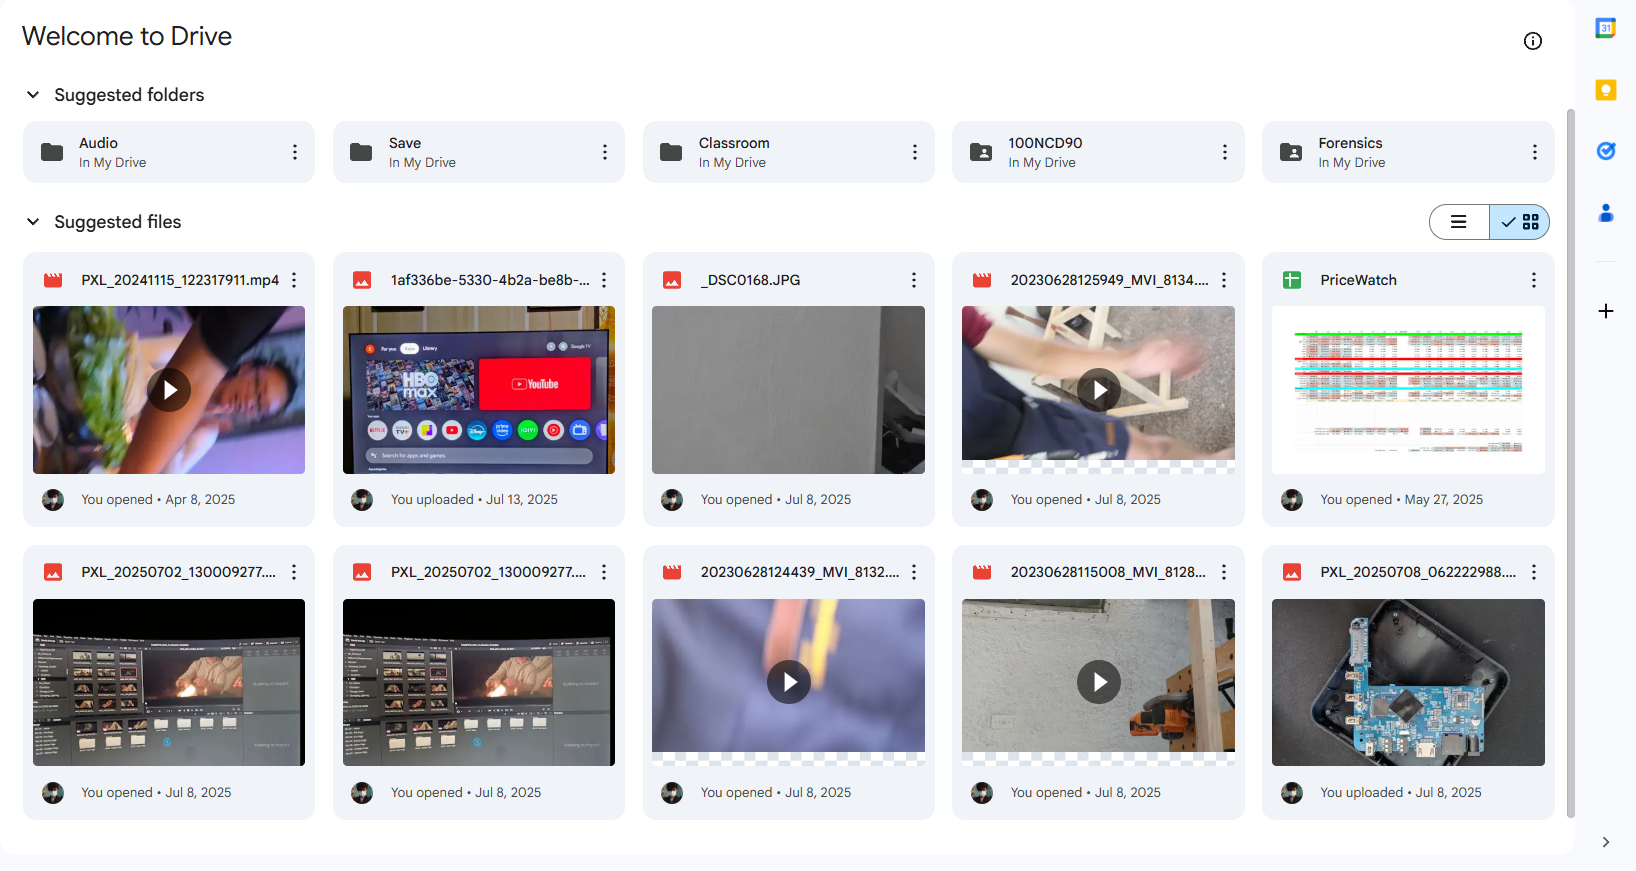
Cloud storage has become my favorite backup solution for all the photos and videos that I take on my phone. Google Drive gives me plenty of free space for essentials. What’s great about using cloud storage is that I can grab my files from anywhere. At home, at a coffee shop, or halfway across the country, as long as I have internet access, I just log in and everything’s there.
Though I do have access to my DIY NAS, I love the auto-backup feature that Google Drive provides. When I take photos on my phone, it automatically takes a copy of that file to my cloud storage, allowing me to safely make room for more space on my phone when needed. Plus, I don’t have to remember to back up every time.
Though I don’t really store my work files in Google Drive, most cloud storage services also have a feature where you can keep older versions of files. So, in case you mess up or save something, it’s easy to roll back and recover those files. If you’re interested in making backups, saving one copy of your files in the cloud and two others on physically accessible media is often recommended. This is known as the 3-2-1 backup strategy, where you have three copies of your backup, stored on two different types of media, with one copy in the cloud or in an off-site location.
4
Saving Files to My NAS (Network-Attached Storage)
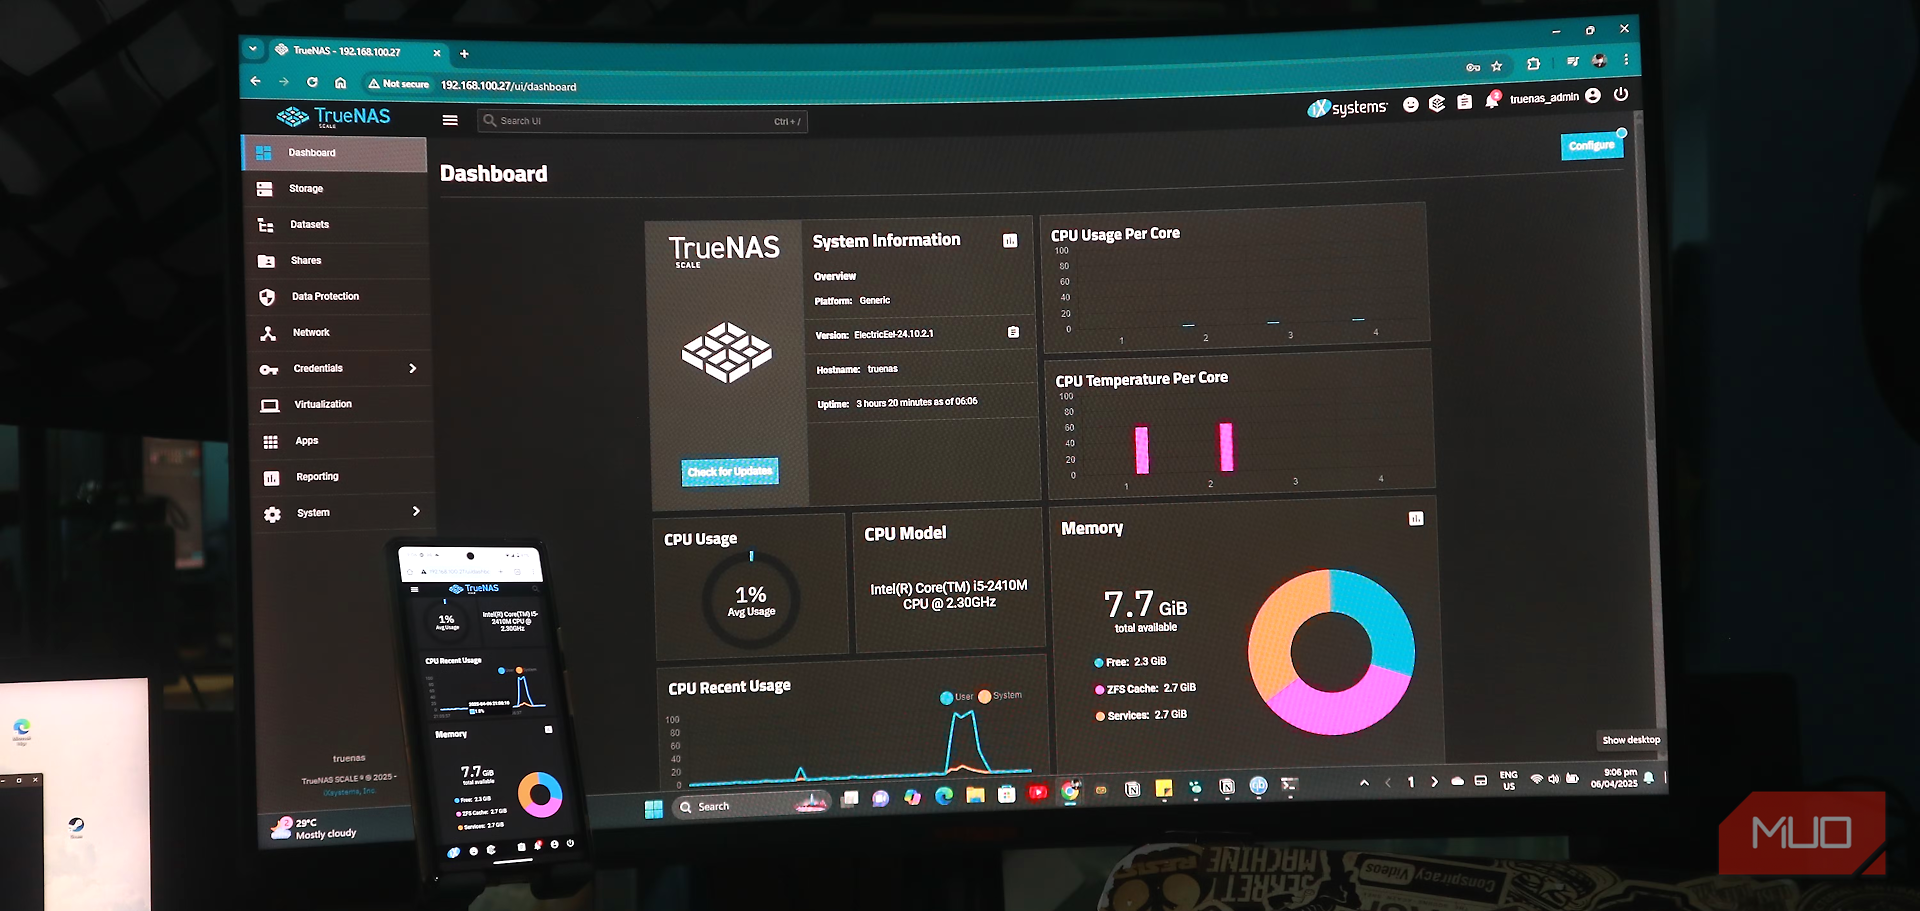
Besides relying on cloud storage, I always keep another copy of my files on my own DIY NAS. Building this homemade NAS from an old laptop was one of the most rewarding tech projects I’ve done. With TrueNAS installed, and my device plugged into my home network, I created a backup system that works just like private cloud storage, but without any monthly fees. This setup lets me easily back up big files and keep everything organized.
One of my favorite things about having a NAS is using it as a media hub. I set up Plex and Jellyfin, turning my NAS into a private streaming service for all my movies and shows that I kept throughout the years. It really feels like my own little Netflix, only with full control over my library. If you’re interested in just having a media library, you can actually just install Plex Media Library on your laptop and use it as your media backup server.
If you’re also interested in using a NAS and can’t bother building your own, there are plenty of pre-made NAS options online. These commercial NAS units often come with extra drive bays and built-in RAID support too. This extra function allows you to have redundancy on your NAS. So, if one drive fails, you still have another drive to keep serving you all your files.
Having my own NAS gives me more than just extra storage space. It lets me follow the 3-2-1 backup rule, adds an extra layer of protection, and turns my old hardware into something genuinely useful.
3
Using a USB Flash Drive or SD Card
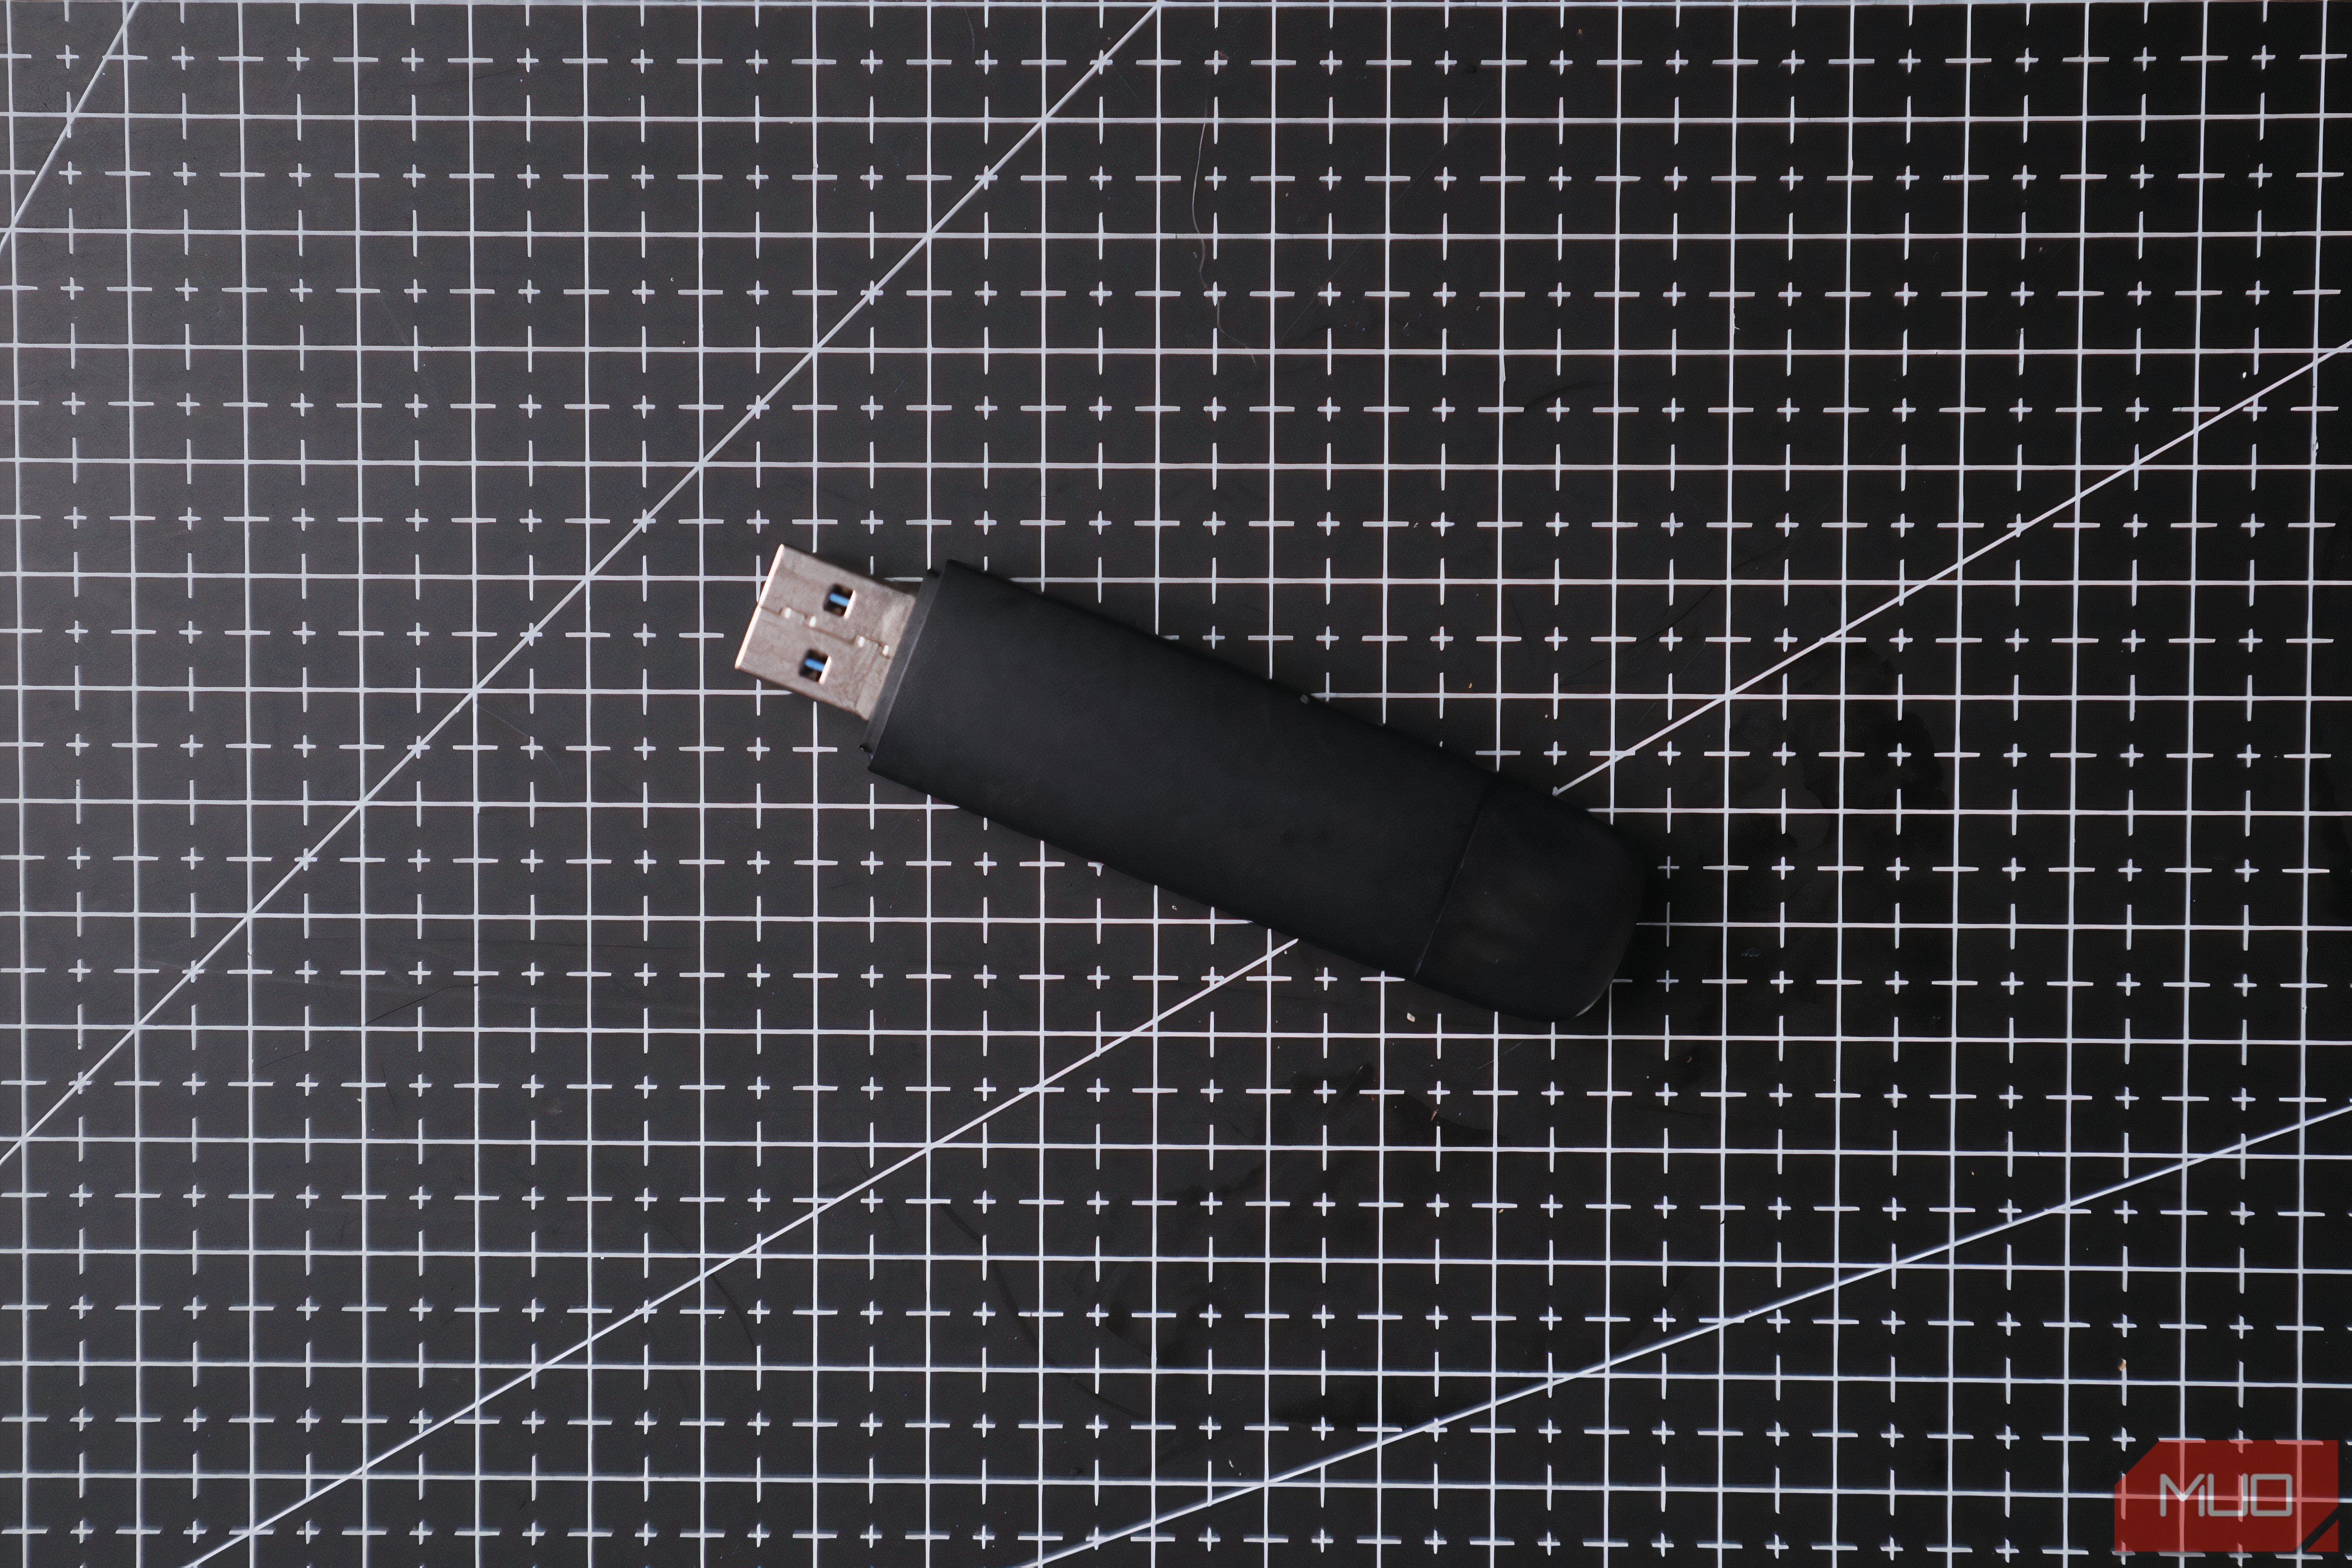
When it comes to backing up small but important files on physical media, USB flash drives and SD cards are my tried and tested favorites. Today, they’re so affordable that you can just pick up a few and dedicate them as cheap archives for all sorts of data.
For every trip, family gathering, or special occasion, I just buy a new SD card for my camera. After transferring photos for editing, I keep all the original files on the card, label it for the event, and stash it somewhere safe. It’s an easy way to make sure I always have a non-cloud backup of my favorite moments.
Flash drives are incredibly portable. I usually have a USB drive on hand for quick transfers or emergency backups, especially if I’m heading out to work or just want to keep some files within easy reach. Since they’re so light, tossing one in my bag is second nature.
One thing I make a habit of, especially for archives, is giving my USBs and SD cards a little checkup once in a while. Flash memory can wear out or quietly lose data if it sits unused. About once or twice a year, I’ll plug my cards and drives into my computer just long enough for the system to recognize them, then disconnect. That quick “power up” helps extend their lifespan and keeps my files healthy without demanding too much attention.
2
Back Up to a Secondary Computer Using Thunderbolt
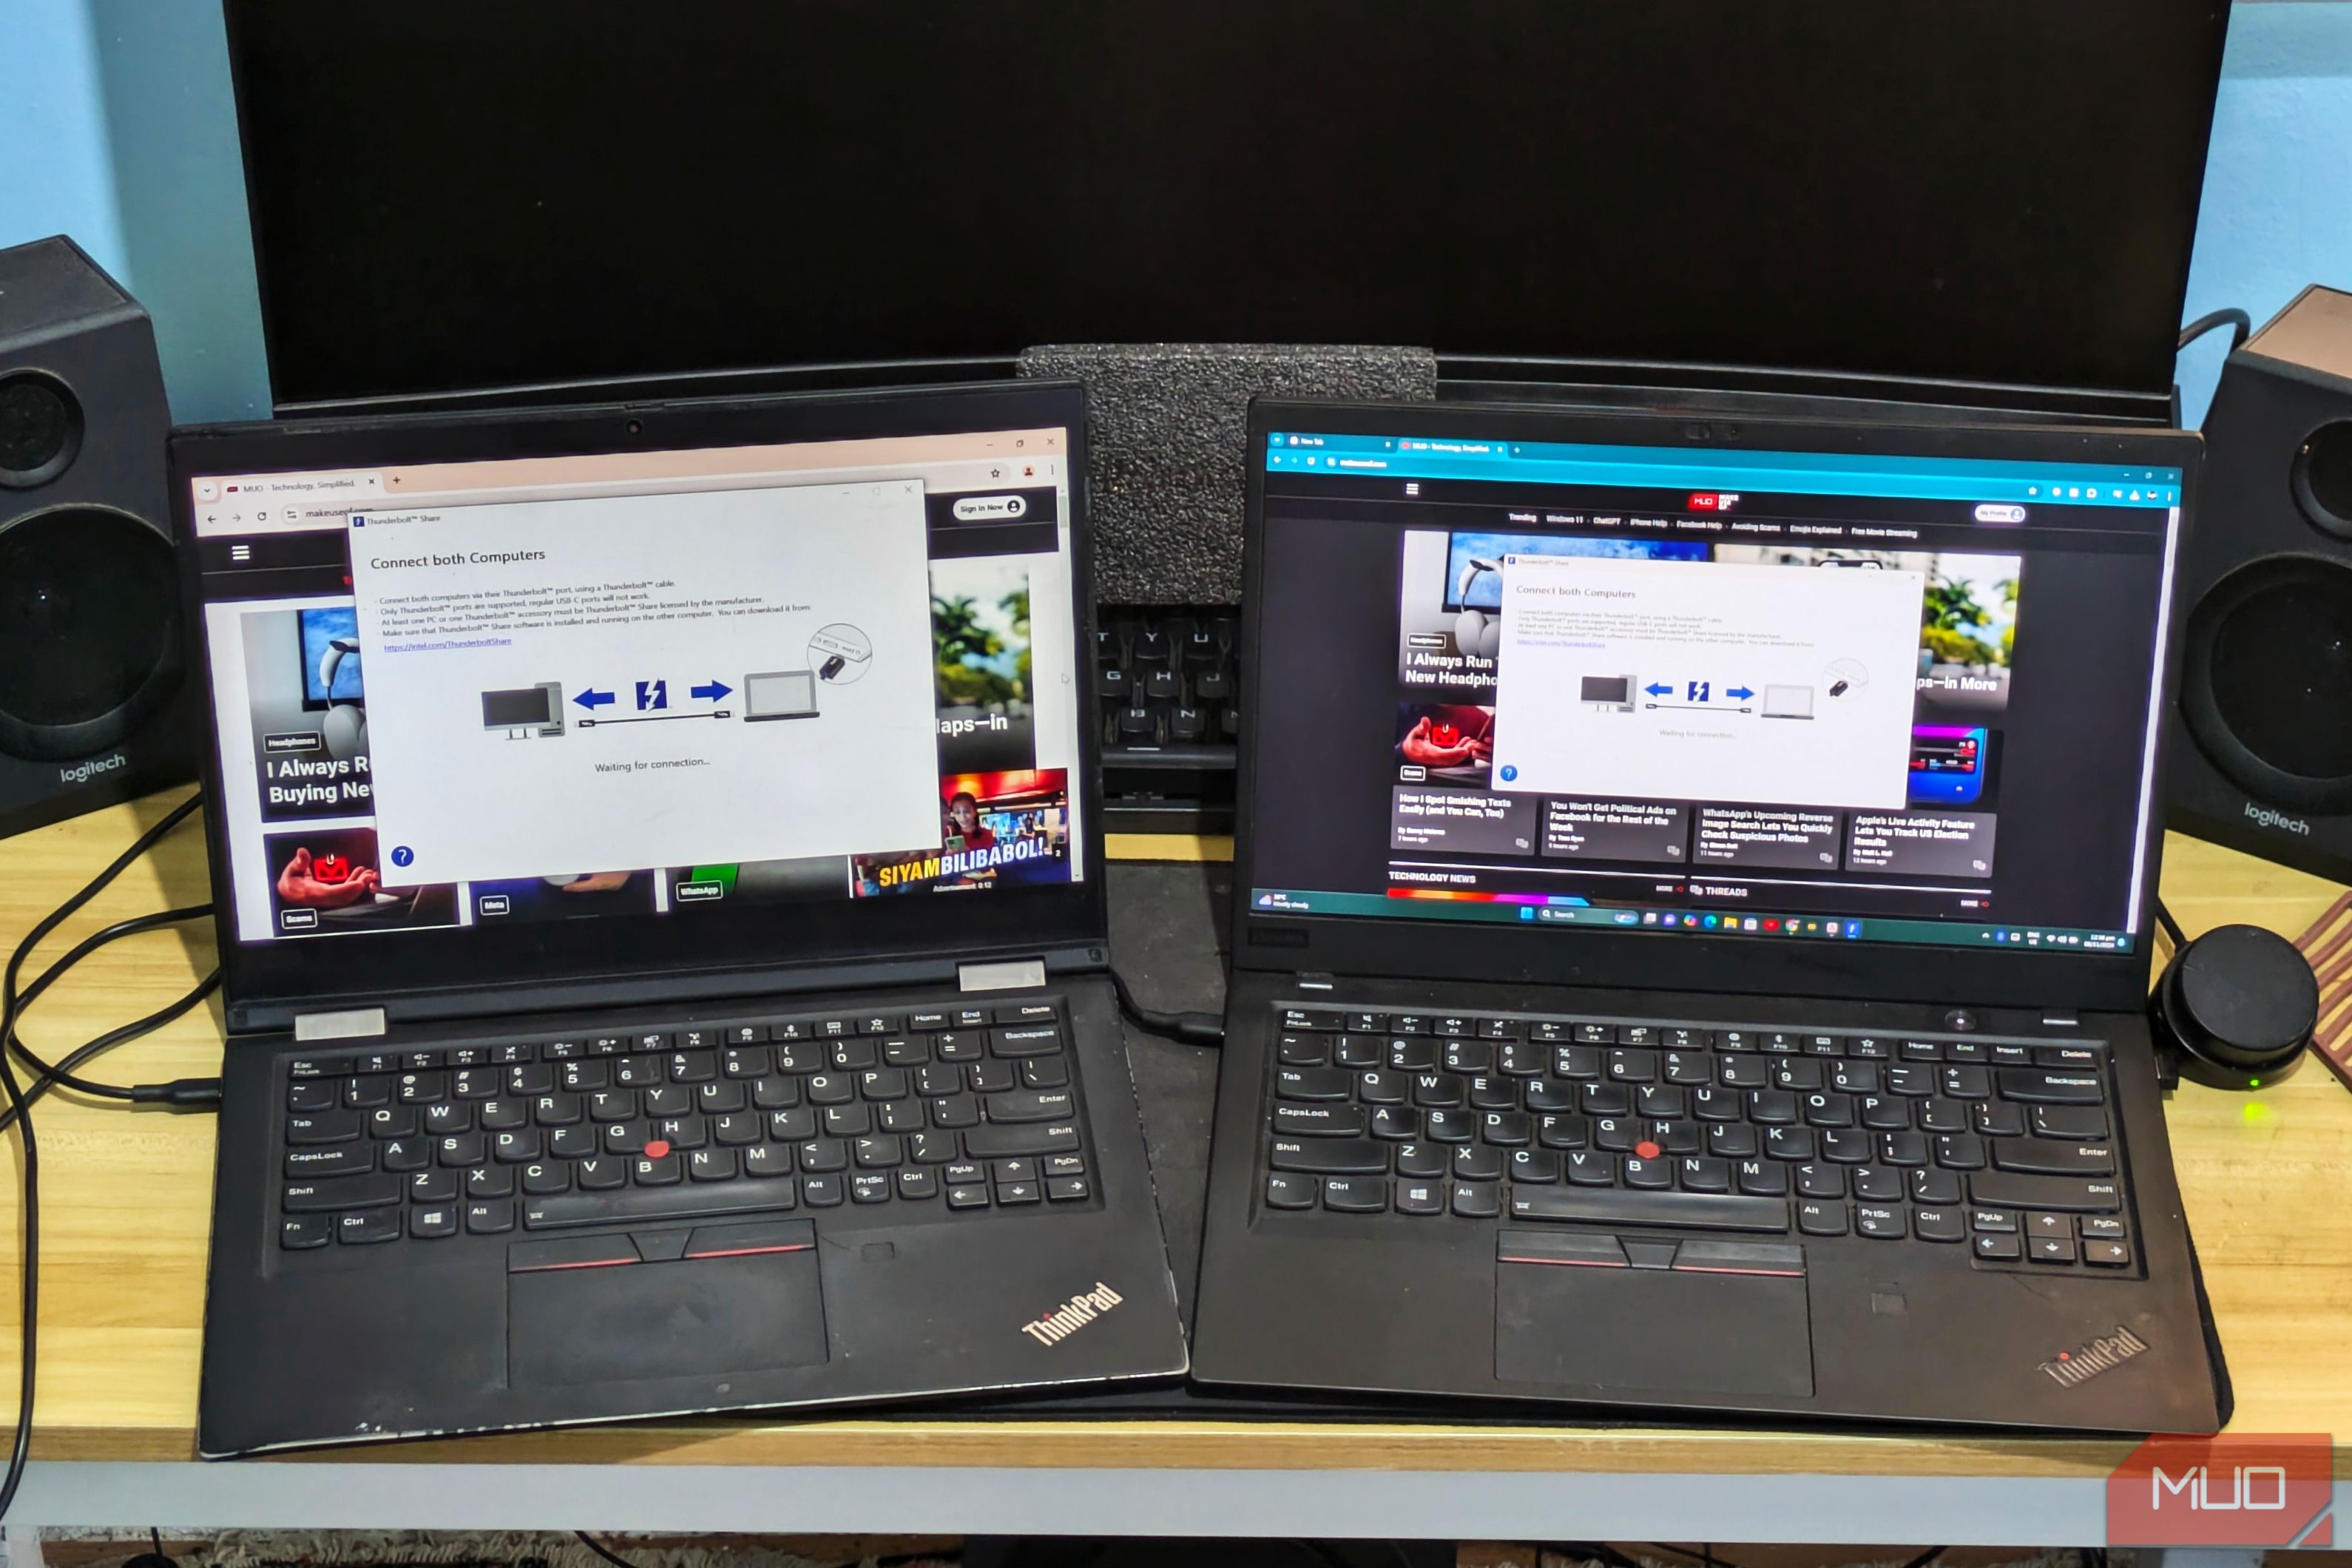
Backing up to a secondary computer isn’t my first choice, but it’s been surprisingly useful more than once. When I needed to hand down my old laptop to a family member, I found a ton of personal files still stored on the drive. Without enough time to sort everything out, I used a USB-C Thunderbolt cable so I could quickly move the entire drive to my desktop using Thunderbolt Share. The transfer was fast, and I didn’t have to worry about losing anything important.
Having extra computers (even older ones) gives you plenty of backup options. If you have an unused laptop, you can turn it into a backup machine pretty easily. A secondary computer becomes a dependable vault for those all-important files, especially when you want a simple backup solution that doesn’t need extra gear or cloud setups.
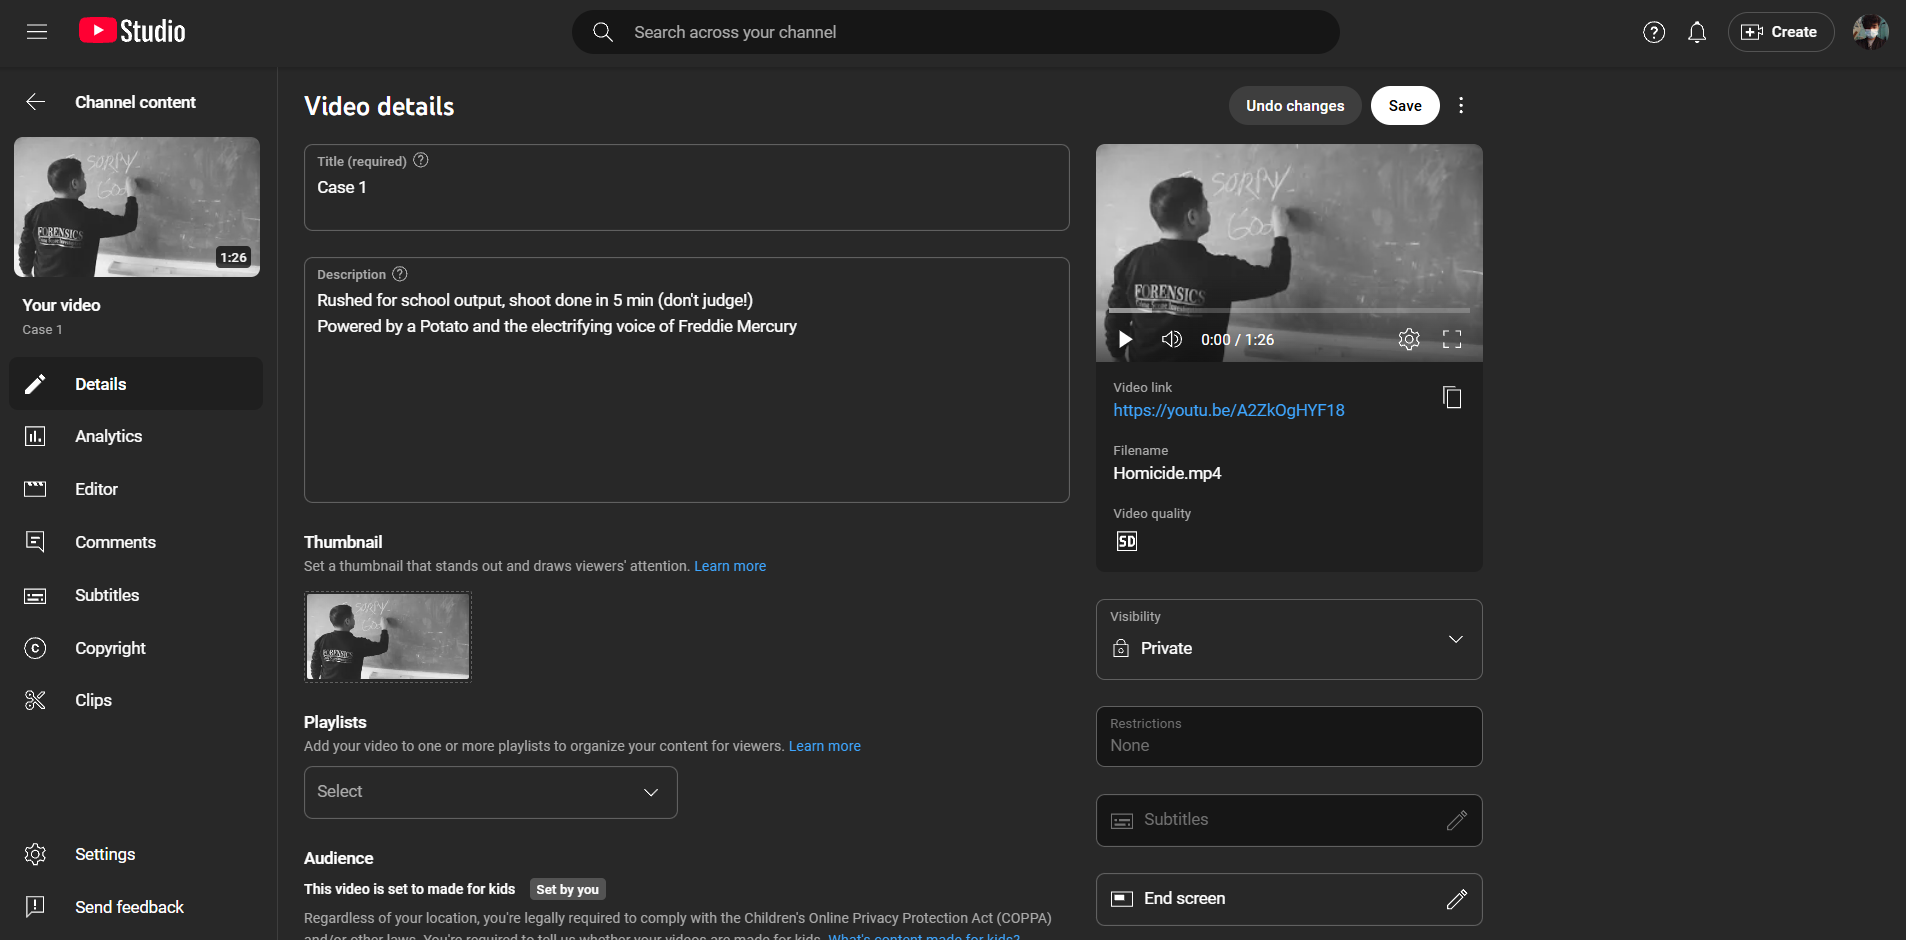
I used to think of social media as just a place to share life updates, but now YouTube and Facebook have quietly become part of my backup strategy for certain files. Whenever I think I’ve captured something funny or recorded a family event, I’ll sometimes upload it to YouTube and set it to Private or Unlisted. For photos, I create private albums on Facebook—after any trip or special moment, I tuck those memories away in an album set to “Only Me.” This keeps my favorite photos and videos safe online, no matter what happens to my devices at home.
One of the things I appreciate most about backing up to social media is how easy it is to share a video or album with someone. If a friend or family member asks for a copy, I just grab the link and send it over. There’s no need to deal with file size limits or complicated transfers.
That said, I always remind myself to upload only the files I’d be comfortable with others seeing—even with private settings, there’s always a small chance that accounts or platforms could be compromised.
You don’t need to buy another external hard drive to feel secure about your files. By mixing these backup strategies, you make sure your data stays protected no matter what happens. The smartest backup is the one that fits easily into your everyday routine. Once you get into the habit of spreading out your backups, you’ll stress less and enjoy knowing your most important files are always within reach.
