Most people only ever plug a charger into the USB-C port on their iPhone, but the interface is compatible with so many more devices. These can help you work or play, circumvent limitations, and get more done when you’re away from a “proper” computer.
Keyboards, Mice, and Trackpads
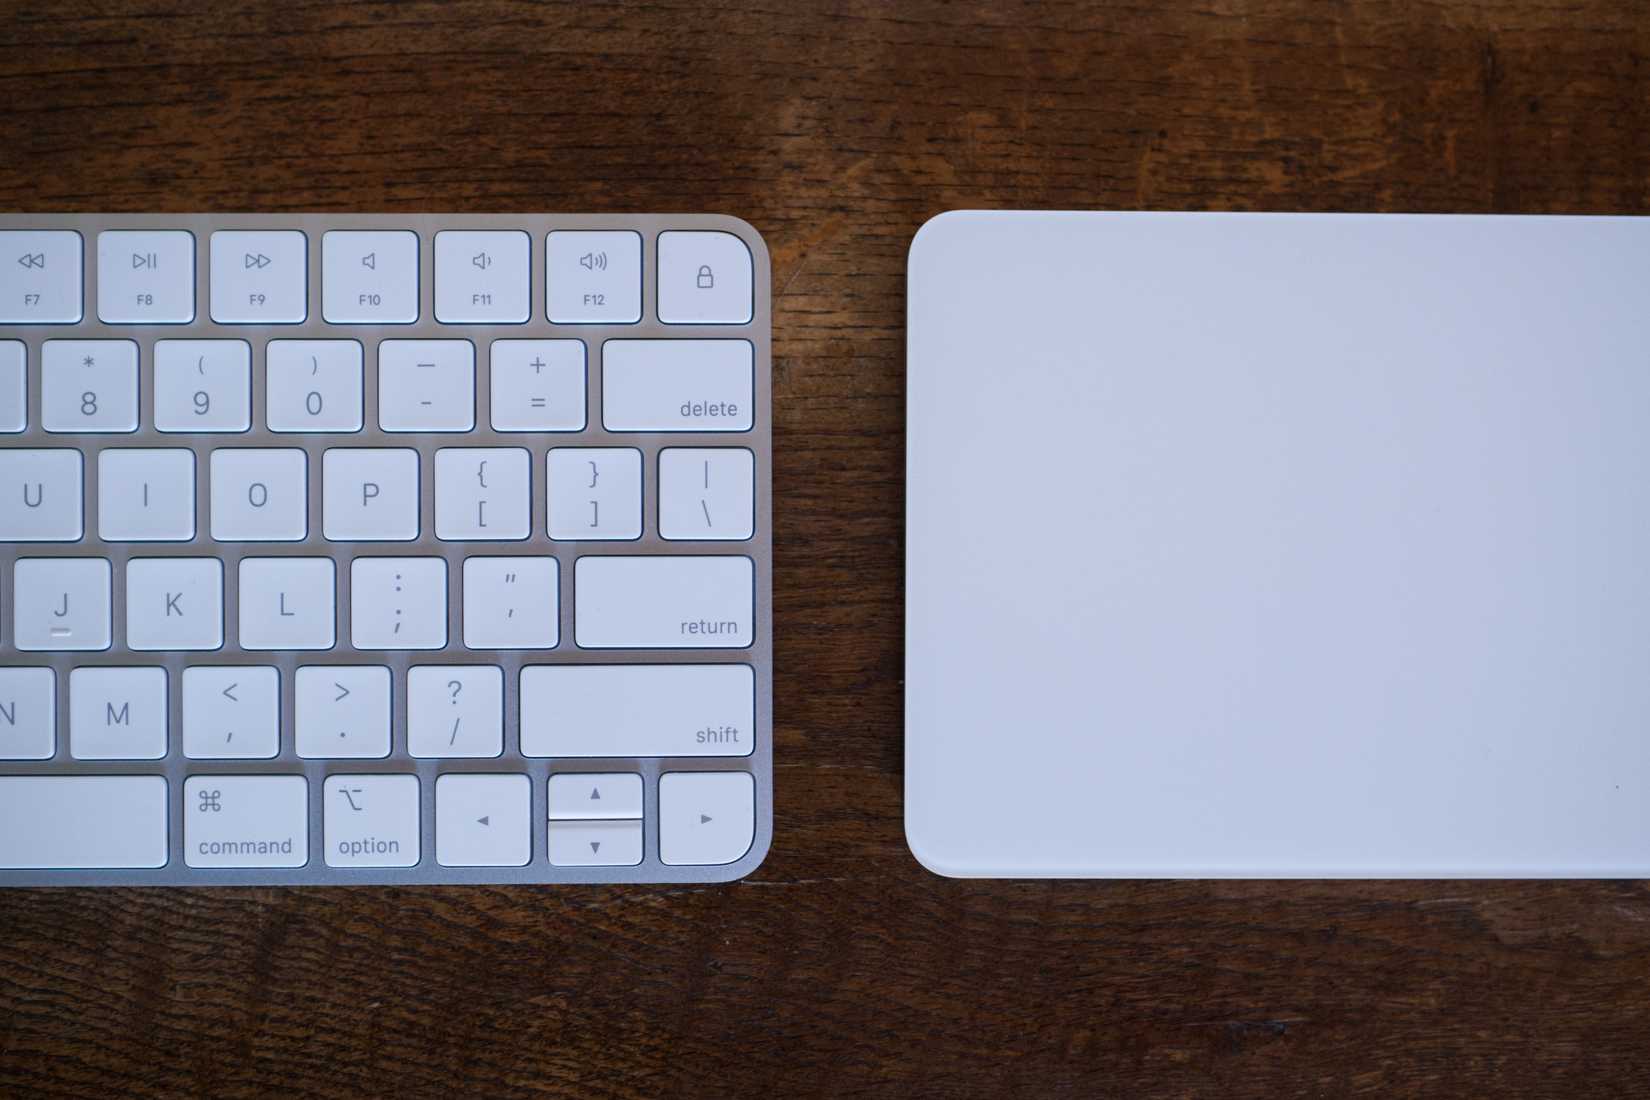
You can connect just about any USB input device to your iPhone via USB as long as you have the right cable or adapter. To prove this concept, I connected Apple’s Magic Trackpad and Magic Keyboard (both with Lightning ports) using a daisy chain of cables and adapters. I went Lightning to USB-A, then converted the USB-A to USB-C with an adapter and plugged it into my iPhone.
Both showed up with no work on my part, and I was able to start typing immediately with the keyboard. To get the mouse pointer to show, I had to enable AssistiveTouch under Settings > Accessibility > Touch. Once that was done, even two-finger scroll worked as expected. In the past, I’ve connected ancient Microsoft USB mice and a NuPhy mechanical keyboard without issues.
Bluetooth is an option if your peripheral supports it, but a wired connection means no perceptible latency, and I have a hunch that my iPhone was even charging these devices (though neither has an indicator to verify my suspicion). If that’s an issue for you, you might want to use…
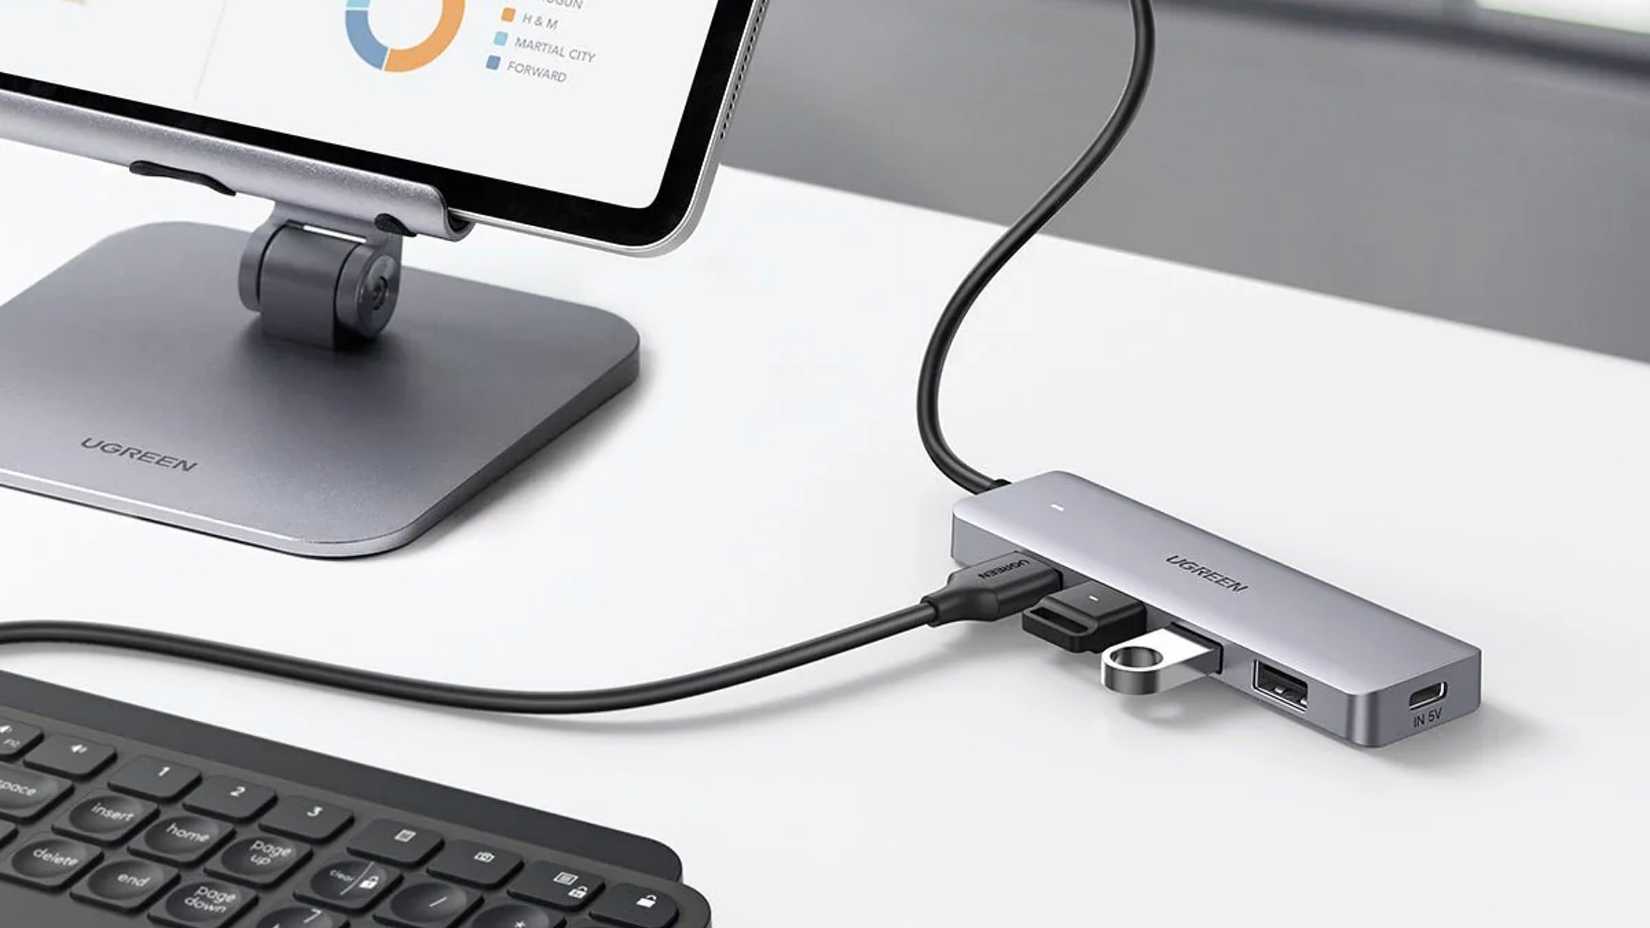
USB-C Hubs
Pretty much any USB-C hub should work with your iPhone and provide you with a greater range of ports. This is great if you want to quickly “dock” your iPhone to a variety of devices with a single cable. On top of this, powered hubs that offer passthrough will allow you to charge your iPhone while communicating with other wired devices.
If you’re buying a hub specifically for use with iOS (or iPadOS, for that matter), check the item description to see whether the iPhone is explicitly supported. If you already have a hub lying around, try plugging it into your iPhone anyway. You can’t do any harm, and it will probably just work.
External Monitors, TVs, and Projectors
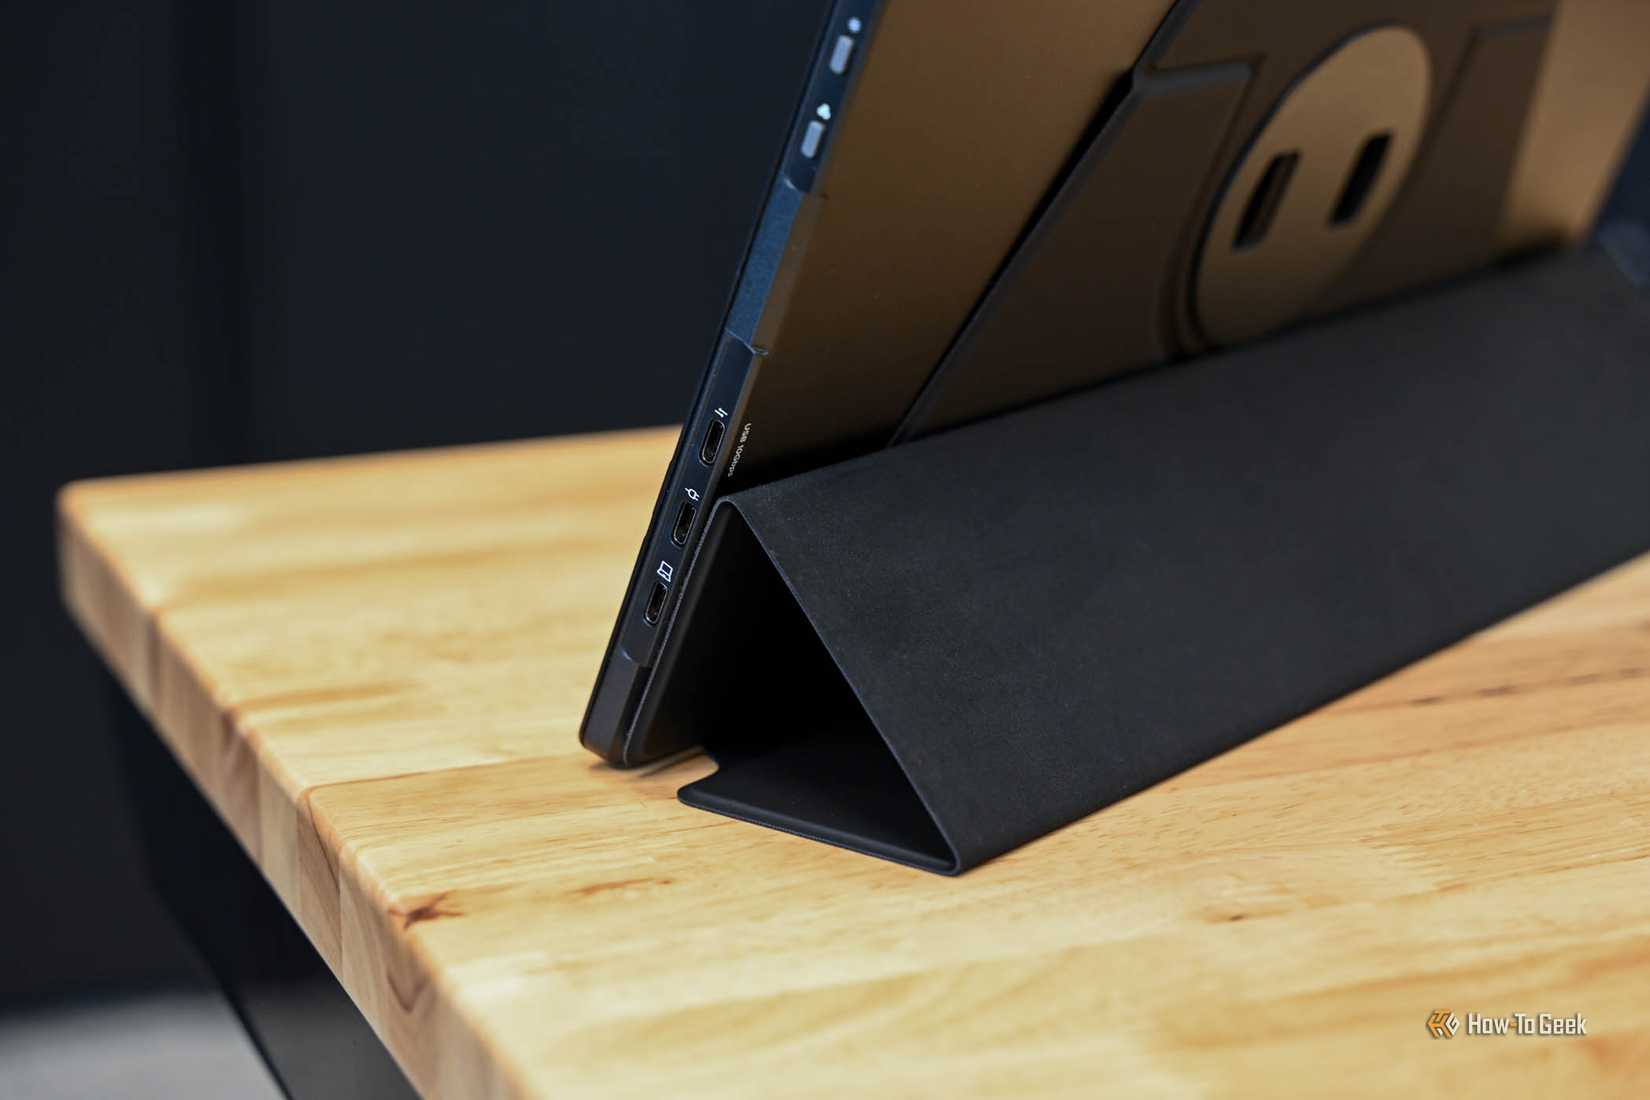
You can mirror your iPhone screen to an external display using a variety of cables and adapters. The simplest way to do this is to use a cable that allows you to carry a video signal over USB-C, which lets you use an iPhone with a supported display (usually a monitor) with nothing more than a double-ended USB-C cable.
Beyond this, there are countless adapters you can use, with both USB-C and Lightning versions available. Apple has produced these with HDMI and VGA outputs, and the aforementioned USB-C hubs that also have these video outputs will likely work too. Just remember that if you have the Lightning version, you’ll need a Lightning to USB-C adapter.
Don’t expect a full iPad or Mac-style desktop to appear. The iPhone will only output a narrow vertical mirror of what you see on the screen. It’s perfect for demonstrations (and you can always go landscape mode), but it’s no Samsung DeX.
External Drives
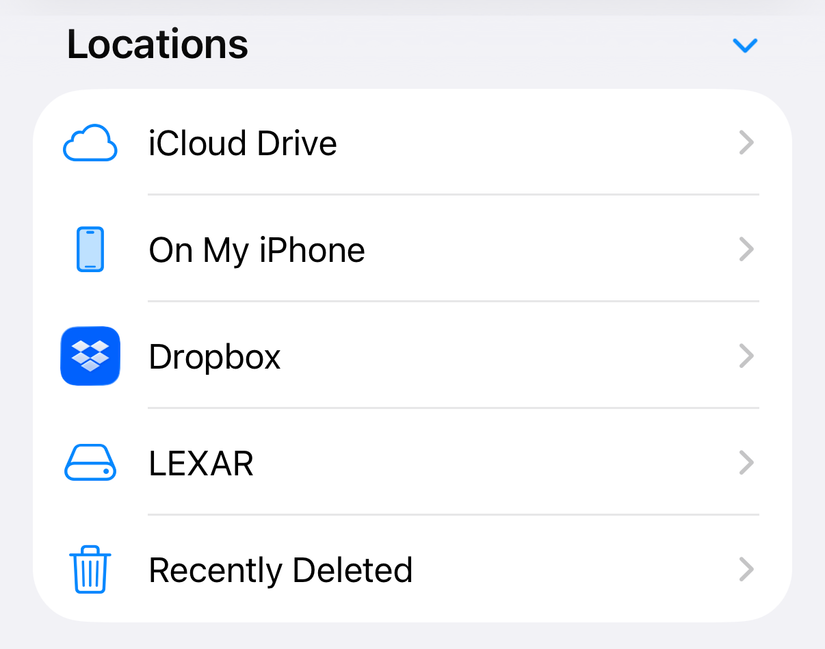
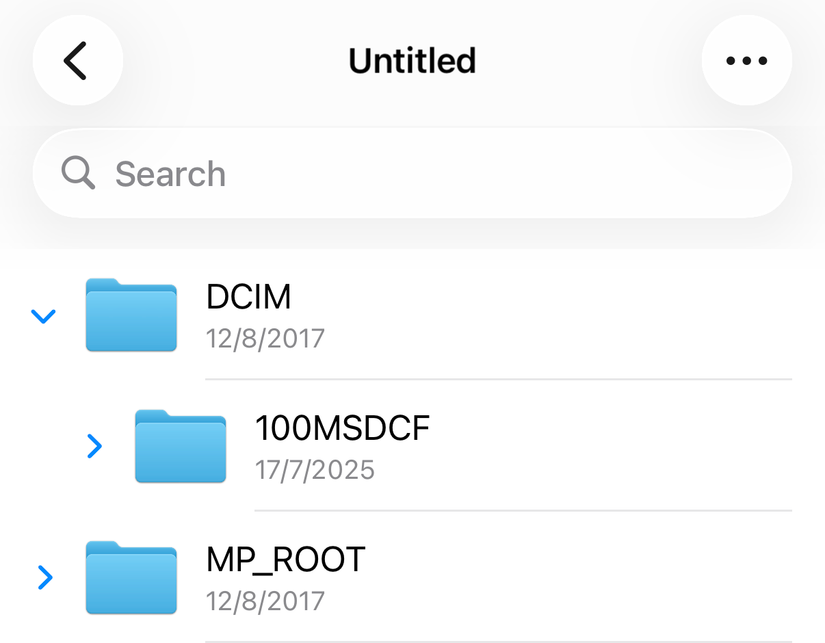
You can connect most external drives to your iPhone and access their contents, write files to them, and even format them using the Files app. In order to read and write, your drive will need to use APFS, macOS Extended (HFS+), exFAT, FAT32, or FAT as a file system and have a single partition. Unsurprisingly, Windows NTFS partitions are not supported.
This works with flash drives and larger external drives, including solid state drives (SSDs). iPhone 15 Pro, 16 Pro, and 17 Pro owners can record high-bitrate ProRes video directly to SSD as long as the drive uses exFAT, is connected via USB 3 cable with a write speed of 10Gbit/s, and meets the 220MB/s and 440MB/s write speed requirements for 4K60p and 4K120p, respectively.
Thankfully, you can also adapt non-USB-C drives using a simple adapter. Just be mindful that a USB 3.0 drive connected via a USB 2.0 adapter will be significantly slower as a result of the bottleneck. Drives should just show up in the Files app after you’ve connected them.
Headphones and Earbuds
Remember when Apple ditched the headphone jack and instead included a small Lightning to 3.5mm headphone adapter with every iPhone? Even though the company has stopped doing that, you can still use these nifty little converters to plug wired headphones into your iPhone if you want. Apple has an official one for $9, but most third-party alternatives should work just fine.
There’s more to these accessories than simply adapting one connector to another, since the digital signal must also be converted. That means these adapters have a small digital-to-analog (DAC) converter within them.
Alternatively, you can connect USB headphones and earbuds directly to your iPhone. Some gaming headsets use USB-C as an interface, while Apple’s older Earpods models that have a Lightning connector will connect just fine with a Lightning to USB-C adapter.
Wired Game Controllers
The iPhone is compatible with a long list of game controllers, with support for popular options from industry giants like Sony and Microsoft, plus manufacturers like 8BitDo. Though most of these work via Bluetooth, you can also connect them using a cable that supports data transfer and has the right connectors (or has been adapted using a converter).
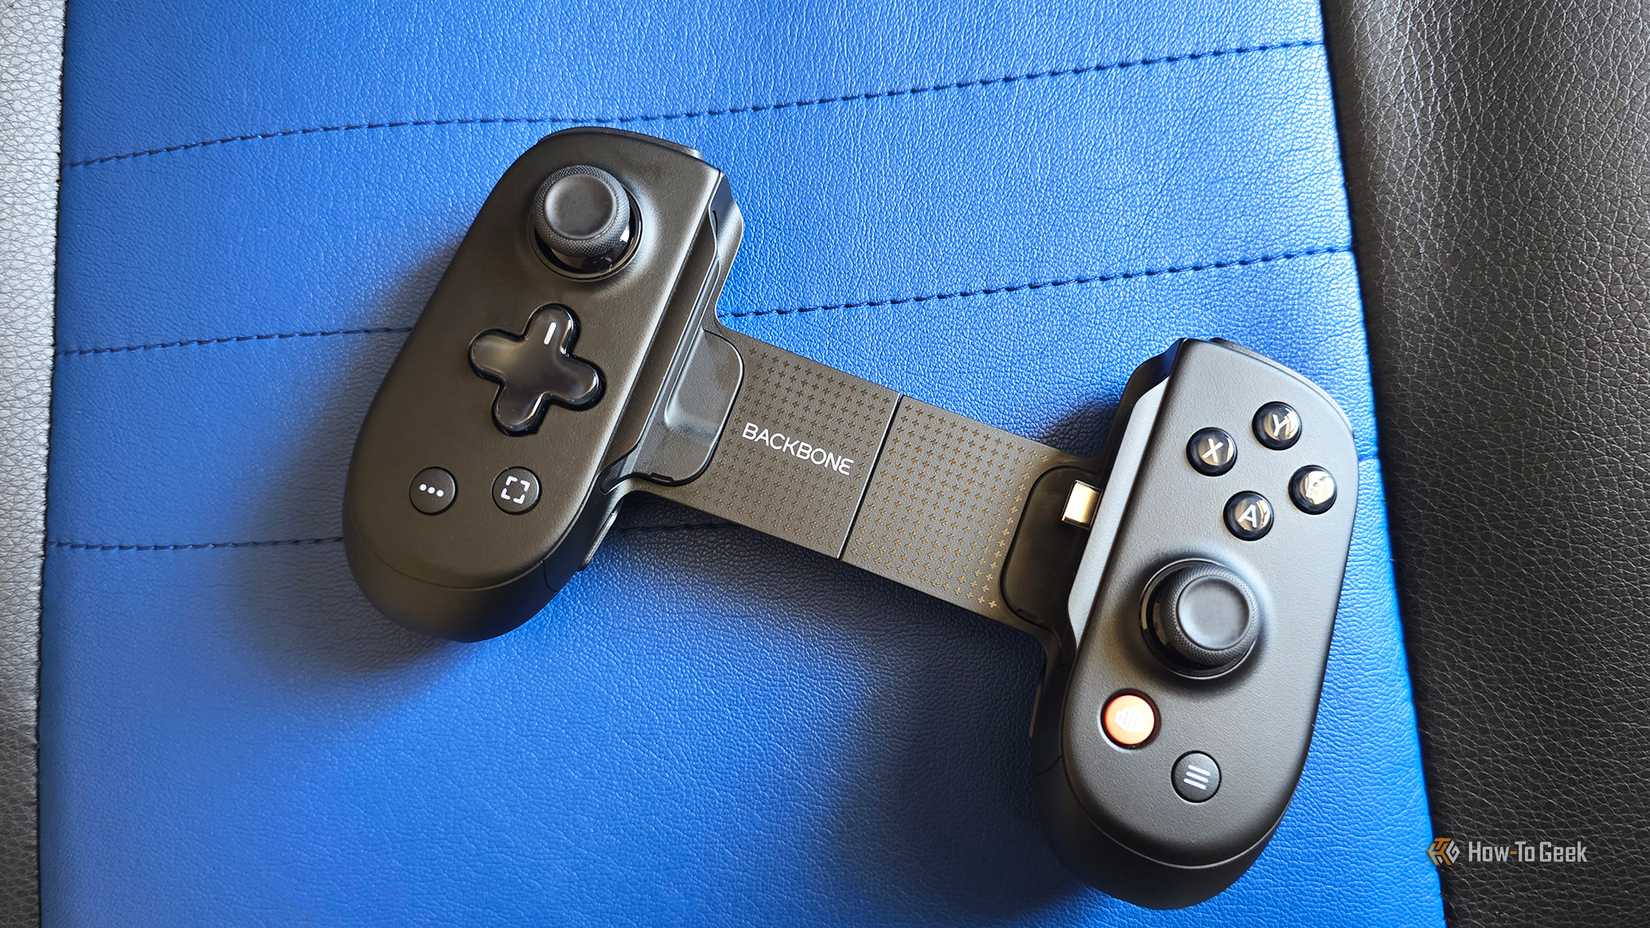
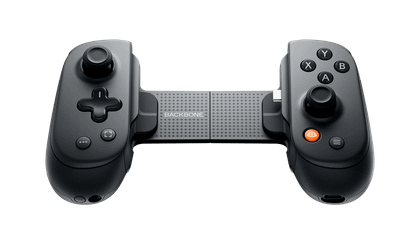
For modern controllers like the PlayStation DualSense, this is simple since the controller already has a USB-C port on it and will connect to your iPhone using the cable that Apple supplied in the box. Other solutions like the Backbone Pro ($170) connect directly via USB and clamp the iPhone in position while playing.
- Wireless?
-
Yes
- Compatible Systems
-
Android phones and iPhone 15 and above
The Backbone Pro takes mobile gaming (and beyond) to the next level of comfort with two full-sized joysticks, Hall-effect triggers, and two customizable rear buttons for a console-quality experience. You can use it wired with a USB-C connection or go wireless with Bluetooth to play on PC, console, iPad, or any other compatible screen.
The only drawback to going this route is that you won’t be able to play and charge at the same time (unless you use a hub or a device like the Backbone, which supports passthrough charging).
SD & microSD Card Readers
Most card readers should work just fine with your iPhone, with many USB-C hubs already including this functionality. If you have a dedicated card reader, you might as well give it a shot. Just remember that the reader won’t show up unless you have a memory card in it.
You can use the Files app to read and write data, or import compatible image formats into the Photos app using the “Import” interface that shows up whenever you connect external volumes.
USB Microphones
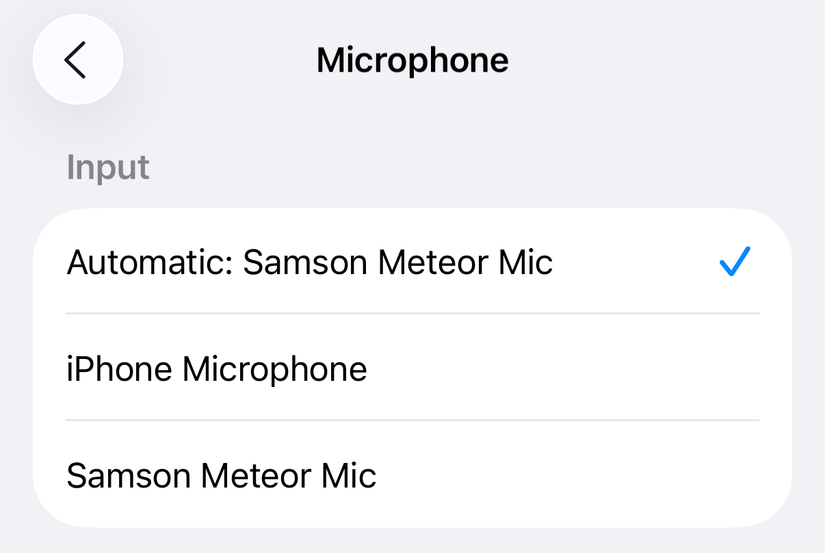
Just like USB headphones, USB microphones should also just work. I tested this with an ancient Samson Meteor microphone, which uses a mini USB output. Even after adapting the other end of the USB cable to Type-C for use with my iPhone, the microphone showed up immediately, and I was asked if I wanted to start using it.
Your mileage may vary with microphones that require external power.
Ethernet Adapters
It’s hard to picture too many moments when you might want to connect your iPhone to the internet via Ethernet, but it can be done. I tested this with a spare Bonelk USB-C to Ethernet adapter that I bought for use with my MacBook Pro, but many USB-C hubs should also work.
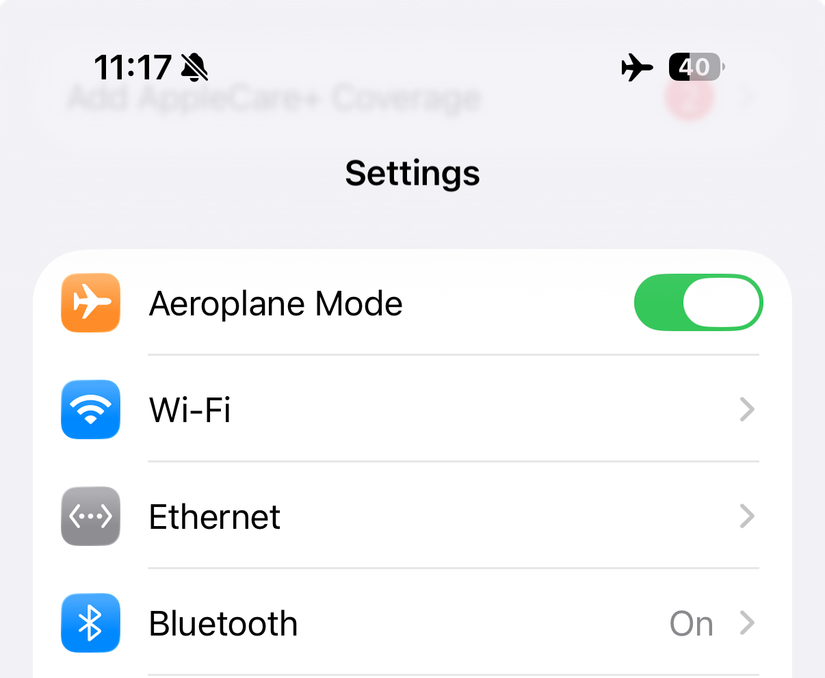
The lights on the adapter immediately started flashing as soon as I connected the adapter, which suggests the iPhone favors Ethernet over all other connection types. I was able to keep browsing the web even after turning on Airplane Mode and disabling Wi-Fi. On top of this, a new “Ethernet” entry appeared in the main Settings menu beneath Wi-Fi, which is something I didn’t expect to see.
This could be useful for troubleshooting Wi-Fi issues, connecting to networks for which you aren’t able to connect wirelessly, or for getting the maximum possible network speeds for file downloads or network storage transfers.
Digital Cameras
Your iPhone will treat a digital camera like any other external volume, which means you’ll be able to browse and transfer files, plus import media into your Photos library as soon as the camera connects. I tested this with my old Sony a6500, which required that I adapt a micro USB to USB-A cable for use with my iPhone’s USB-C input.
The only quirk I noticed is that the camera needed to be switched on in order to function as a storage device.
