Home Assistant is a free and open-source smart home platform that brings a huge range of devices together. Installing Home Assistant on a spare laptop or single-board computer like the Raspberry Pi unlocks huge possibilities, but you can do even more with a few accessories.
While you won’t need all of these, your setup likely won’t be complete without one or two.
1
A Zigbee Radio
Zigbee is a wireless communication protocol that dates back to the mid-2000s. It allows devices to communicate over a low-power mesh network. Despite being old, the Zigbee standard has been through three major revisions, and devices continue to be manufactured that take advantage of it today.
Smart home accessories from the likes of IKEA, Tuya, Sonoff, and many more manufacturers use Zigbee to communicate. Within Home Assistant, you can easily connect to Zigbee devices using the Zigbee Home Automation native integration, or you can install the MQTT protocol and make use of Zigbee2MQTT for an even broader range of supported devices.
As a wireless standard, Zigbee has an effective range between 30 and 300 feet (10 and 100 meters), depending on what’s in the way. Because the standard is relatively mature compared to newer wireless technologies, Zigbee’s biggest benefit is the range of devices that already exist. These include some of the most cost-effective options on the market, such as IKEA’s Tretakt smart plugs ($10).
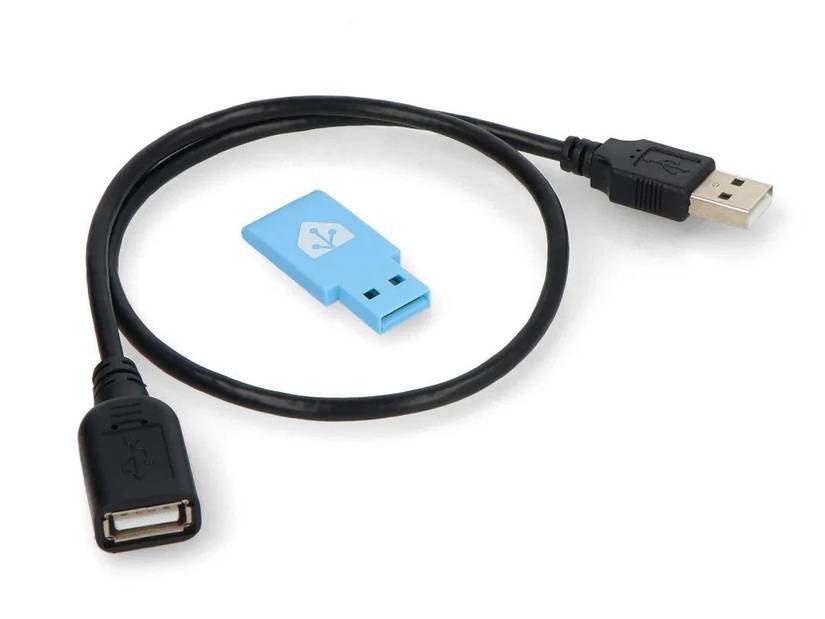
In order to make use of Zigbee, you’re going to need a USB dongle that adds support to your Home Assistant server. These radios assume the role of coordinator in the Zigbee network, acting as a central point for any commands you issue and responses that are returned. Other powered Zigbee devices within the network, like smart plugs and bulbs, act as “routers” to further boost the signal and expand the range of the Zigbee network.
Arguably the best USB adapter for the job is the Home Assistant Connect ZBT-1, previously known as the SkyConnect. This is a multi-protocol dongle that provides support for Zigbee via plug-and-play ease of use. Just connect it to your server (exposing the USB port to your virtual machine if you’re using one), and then head to your dashboard.
There are plenty of other options out there if you’d rather choose another brand, including the Sonoff Zigbee 3.0 USB Dongle Plus and the ConBee II. If you’re only interested in Home Assistant and are looking for the path of least resistance, the ZBT-1 is the best choice.
2
A Z-Wave Radio
Like Zigbee, Z-Wave is another wireless communication protocol that allows smart home devices to communicate with Home Assistant. Z-Wave predates Zigbee, having been introduced at the turn of the millennium. It took years of development for Z-Wave to reach widespread adoption, going from a handful of supported devices in the mid-2000s to more than 4,000 today.
The big benefit of Z-Wave over Zigbee is range. The effective range for Z-Wave devices is 300 to around 2,500 feet (100 to 800 meters), though this is heavily dependent on what’s in the way, topography, and even atmospheric conditions. Like Zigbee, Z-Wave uses a mesh network where nodes (smart home devices) can talk to one another even outside the range of the main Z-Wave controller.
Some big-name brands that produce smart home products using the Z-Wave standard include Zooz, Inovelli, and Honeywell. The technology is often seen in many security products like alarm systems and smart locks, though there are also plenty of switches, relays, and presence detectors to choose from. With Z-Wave, expect to pay a little more than you would for a Zigbee device.
Like competing standards, Z-Wave requires a radio to be paired with Home Assistant in order to work. The obvious choice here is the Home Assistant Connect ZWA-2, the other “official” Home Assistant USB adapter that was launched in 2025. The antenna has been designed to maximize range, which is why it looks like a big toilet roll holder (yeah, I said it).
Other Z-Wave adapter options include the Zooz Z-Wave Long Range 800 Stick and the HomeSeer SmartStick G8.
3
A Thread (Matter) Radio
Completing the trifecta of non-Wi-Fi smart home wireless communication protocols is Thread, a relatively new standard that appeared in the mid-2010s. Thread also uses a low-power mesh wireless network, with a single device at the top of the chain known as a Thread border router.
Thread is commonly used as part of the Matter standard, which is an attempt to unify smart home communication technologies and encourage interoperability between systems and brands. So far, that vision hasn’t come to fruition even though the technology has been adopted by all of the major smart home players: Amazon, Google, Apple, and Samsung.
Despite Matter often relying on Thread, not all Matter devices use the standard, and some use plain old Wi-Fi instead. Due to being a decade or more behind competing technologies, Thread support is still relatively thin on the ground, and kitting out a Matter-over-Thread smart home will cost you a lot more than competing technologies.
Thread does have a few benefits over Zigbee outside of its market-wide approach to device unity. The standard has lower latency, incorporates end-to-end encryption within supported devices, and Thread generally plays better with IP-based networks. That said, both technologies have a lot in common, though they aren’t directly compatible with one another.
As such, you’ll need a border router within your setup to use Thread. One way you can accomplish this is to use an existing Apple or Google device (like a smart speaker) that includes this functionality. Alternatively, you can buy the Home Assistant Connect ZBT-1 dongle (the same one used for Zigbee) and set it up as a Thread border router instead of a Zigbee coordinator.
You can even buy two of these dongles and set them both up using the different standards. This would allow you to incorporate both Thread and Zigbee devices into your setup.
4
A Bluetooth Dongle
There’s a fair chance that your Home Assistant server already includes Bluetooth functionality. You can test this out by going to Settings > Devices & services and clicking on “Add Integration” then searching for the “Bluetooth” option. If you’re able to set up the integration, congratulations, you don’t need to buy anything.
This is likely the case if you’re running Home Assistant on “bare metal” like a Raspberry Pi that has its own Bluetooth module. But for the many users who run their Home Assistant setup within a virtualized environment, things are less straightforward.
For example, I run Home Assistant on a Mac mini using VirtualBox, and there’s no way to pass my Mac’s built-in Bluetooth chip through to Home Assistant. In this example, a USB Bluetooth dongle would solve the issue (as long as the USB port it’s plugged into is configured appropriately within the VM settings).
The good news is that most Bluetooth adapters seem to work just fine, as long as they’re compatible with the underlying system. There’s a full list of these on the Home Assistant Bluetooth integration page, and posts on the Home Assistant community report success with generic $20 Amazon buys.
Though Bluetooth is often looked down upon among the smart home community, it’s not always a bad choice. For example, the cheap and cheerful SwitchBot Meter Plus thermometer can connect to Home Assistant via Bluetooth directly without the need for a hub, and you can do neat things like write automations based on the presence of portable Bluetooth devices.
5
External USB Storage
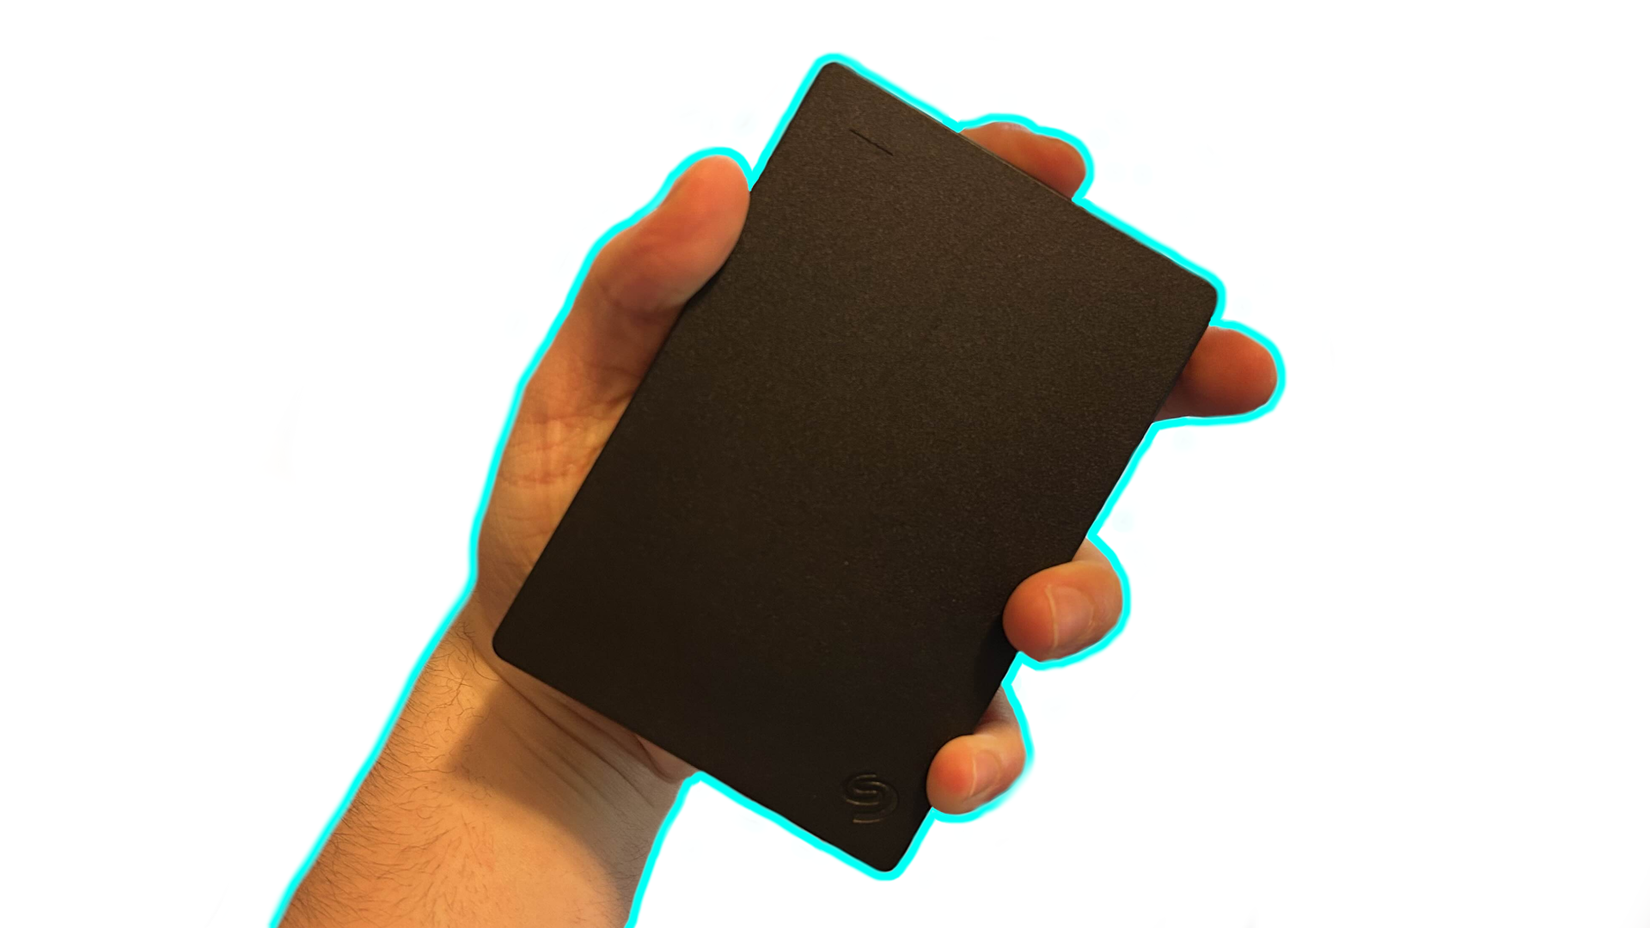
Your Home Assistant server doesn’t need a lot of storage, but you might want the space for other purposes. For example, you could save footage from your networked security cameras and doorbells locally to avoid paying for cloud services. You could even put your Home Assistant server to work as a local file, cloud, or media server if you have enough performance overhead.
In this case, external storage like hard drives and solid-state drives is ideal. How you go about setting things up depends on what you’re trying to achieve, but thanks to the popularity of the platform there’s a good chance that someone out there has already done it.
For example, here’s a Reddit post about setting up the Frigate NVR to record footage to an external drive. You can add an integration using the Home Assistant Community Store called Samba Backup, which pushes your Home Assistant backups to a connected external drive. Alternatively, you can leave Home Assistant to do its thing and just install Jellyfin or Nextcloud independently of your server for media streaming and self-hosted cloud solutions.
6
A USB Hub
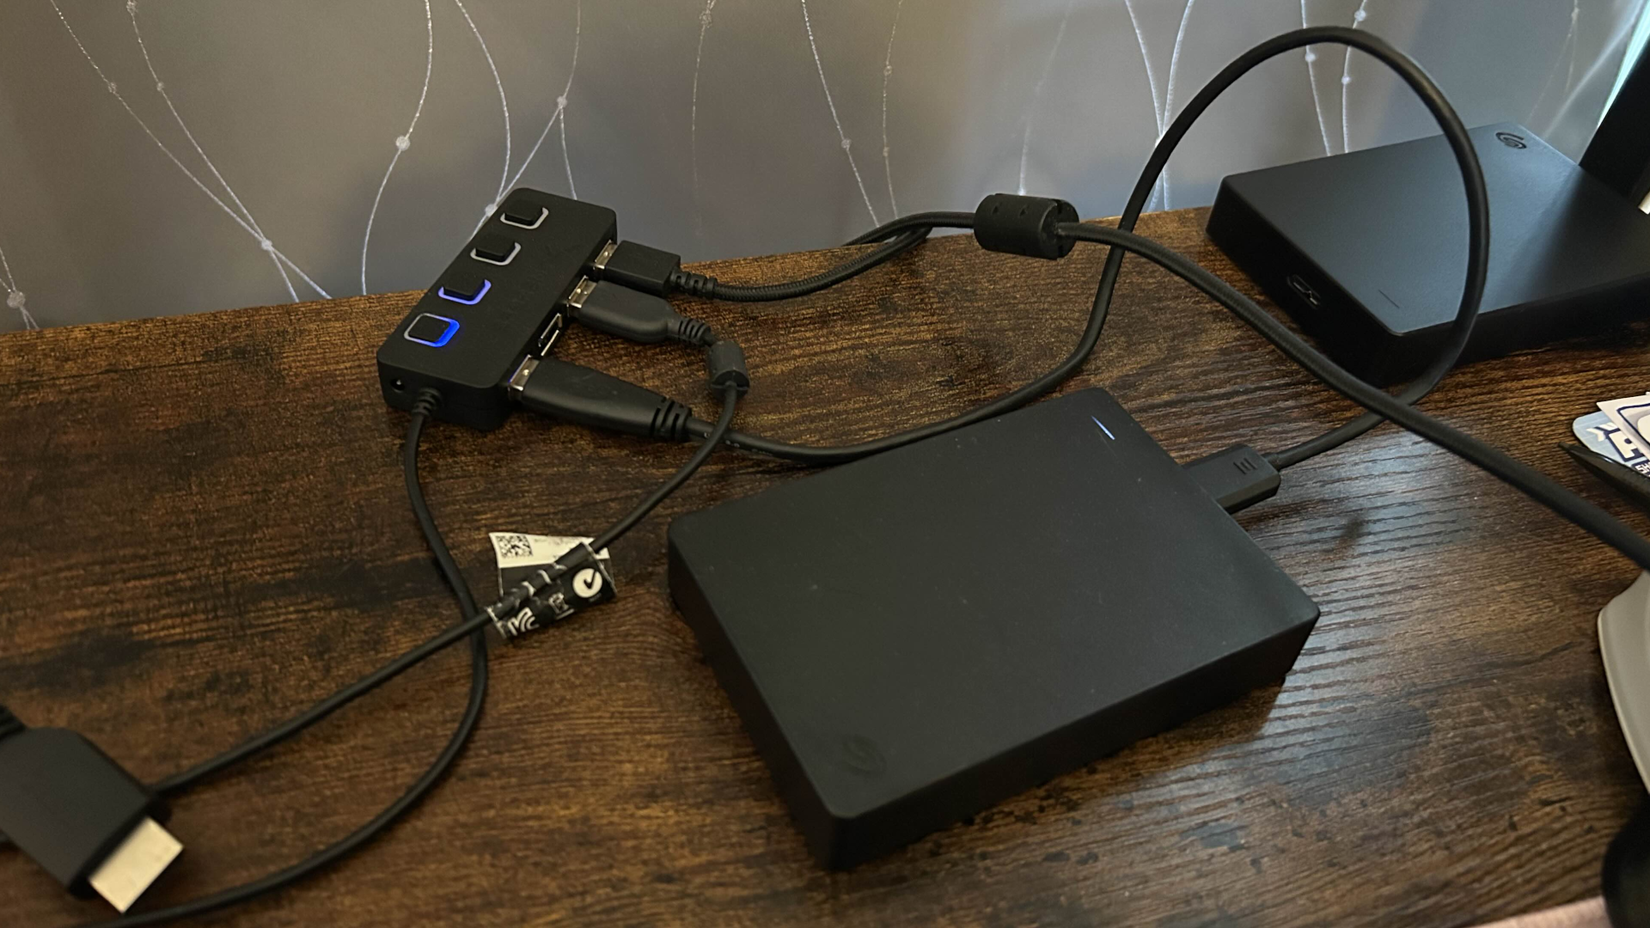
It’s easy to run out of USB ports. The good news is that most USB hubs will work with most servers. For single-board computers like the Raspberry Pi, a powered hub is generally recommended. There’s a reason that the official Raspberry Pi USB 3 Hub ($15) comes with an optional USB-C power input for devices that draw more power.
You might also want to consider a USB 2.0 hub since USB 3.0 can cause all sorts of interference with wireless radios. This is why the Home Assistant Connect range puts as much distance between the USB port and the antenna as possible.
Right now, I have a Home Assistant Connect ZBT-1 powering my Zigbee network, and since my IKEA Vindstyrka air quality monitor is located right next to my server, I’m using the spare USB-A port on my Mac mini to power it.


