Summary
- A high-quality home theater experience relies heavily on optimizing speaker systems for clear and accurate sound.
- Room acoustics and speaker placement are crucial for avoiding echoes, reverberation, and bass issues.
- Adjusting speaker settings, including size and crossover frequency, is vital for clear dialogue and balanced sound.
A truly immersive home theater experience is about more than just having a big screen and cozy seats; it depends heavily on the quality of your sound. If you neglect to optimize your speaker system, even high-end audio video equipment won’t perform at its best.
If you take the time to adjust your home theater, every whisper, explosion, and musical note comes through with stunning clarity and accuracy. From the basics of where to place your speakers, how to treat room acoustics, and even receiver settings, using advanced measuring tools are important in this process. However, once you know what to do, it’s not only easy but a lot of fun. Let’s dive in.
The Basics of Room Acoustics and Speaker Placement matter
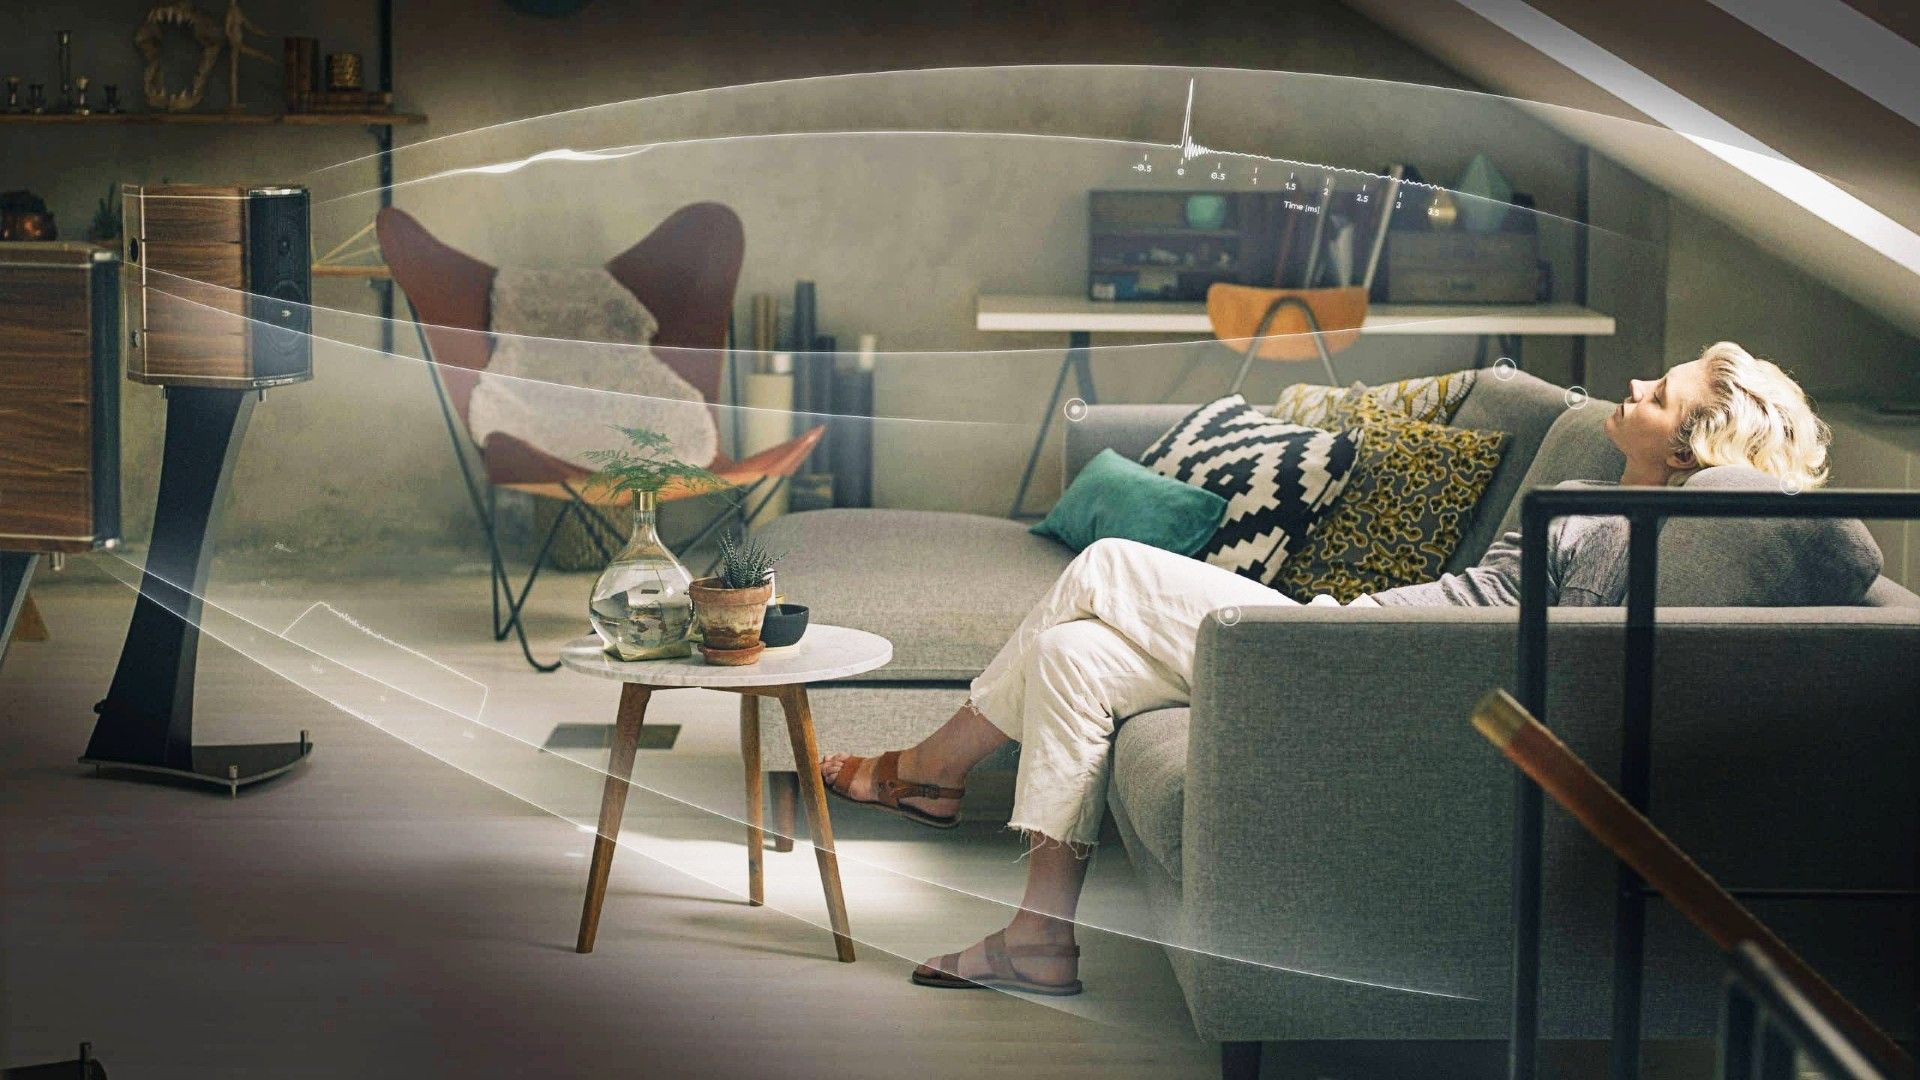
Reflections are one of the biggest ways a room affects sound. Sound waves bounce off walls, ceilings, floors, and furniture. These reflected waves mix with the direct sound, causing unwanted echoes, reverberation, and distortions like unclear dialogue or a muddy sound. Hard surfaces reflect sound, while softer, porous materials absorb it.
Room modes and standing waves, especially below 120Hz, make sound waves either reinforce or cancel each other. This leads to overpowering “boomy” bass or quiet “dead spots.” Basically, one of the biggest elements of good sound is having a room that helps your audio. If you don’t take it seriously enough, you’re going to have a setup that just isn’t meeting its full potential, even when everything else is set up correctly.
Square rooms or rooms with dimensions that are exact multiples of each other are more likely to have bass problems. Obstructions or placing speakers inside furniture cabinets can also make audio quality worse.
To reduce unwanted echoes and control bass buildup, you need to manage reflections. Simple solutions include rearranging furniture to break up standing waves and improve bass clarity. A good rule of thumb is to think “soft”—objects like large houseplants, heavy curtains, area rugs, and wall hangings can reduce high-frequency reflections.
Absorption panels capture sound waves, cutting down on reverb and echo, and work best when placed at key reflection points on side walls, front walls, and the ceiling, especially at ear level.
Related
How Much Power Do You Need? Understanding Wattage in Home Theater Sound
You’ve got the power.
Adjust your Speaker Settings for Clear and Balanced Sound
Getting your AV receiver’s speaker settings just right is very important for the best possible sound quality and balance. This means making careful adjustments so that all the speakers work together smoothly to create a realistic audio experience.
One of the most important tips I have is setting your speakers to “small” mode, even if you have big tower speakers, and as long as you have a subwoofer, too. Most AV receivers automatically set the front speakers to “large,” which means they try to play the entire range of sounds. However, most speakers cannot handle the deepest bass (sounds below 80 Hz) on their own. Without a dedicated subwoofer, sound can be distorted.
By setting your speakers to “small,” you send those tough low sounds to the subwoofer instead, letting your main speakers focus on the sounds they handle best. The subwoofer is built to deliver strong, clean bass. If you don’t have a subwoofer, then you should set your speakers to “large.”
After setting the speaker size, you need to pick the right crossover frequency for each speaker. The crossover frequency is basically the point where low sounds are sent from the speaker to the subwoofer. Sounds below 80Hz are hard for people to pinpoint, so it’s fine for the subwoofer to handle them. For smaller main, surround, or height speakers, you might need a higher crossover frequency (90 to 120Hz), depending on how low they can play clearly. Your speaker’s owner’s manual can tell you what the best crossover frequency is.
Related
7 Common Home Theater Sound Problems and How to Fix Them
Have you tried turning it off and on again?
Setting the correct speaker distances is also key to making sure sound from all speakers reaches your ears at exactly the right time. Measure the distance from each speaker to your main listening spot and program these numbers into your AV receiver. The receiver will then adjust the timing, delaying sound from closer speakers so everything lines up perfectly.
Subwoofers often have extra built-in delays, so you might need to set the subwoofer’s distance in the receiver a little farther than it actually is. This fine-tuning, along with adjusting the subwoofer’s phase control, helps the bass blend smoothly with the main speakers, avoiding gaps or overpowering booms in the sound.
Make Dialogue Clear and Special Effects Stand Out
Getting clear dialogue and powerful special effects in a home theater requires careful attention to your AV receiver’s speaker settings. I recommend focusing on the center channel and how low frequencies are handled.
The center channel speaker plays most of the spoken words and sounds that match what you see on screen, making sure speech comes directly from the screen. If not set up correctly, dialogue can sound unclear or low, and it’s incredibly annoying—I hate this about newer TVs because they sometimes prioritize explosions over dialogue by default.
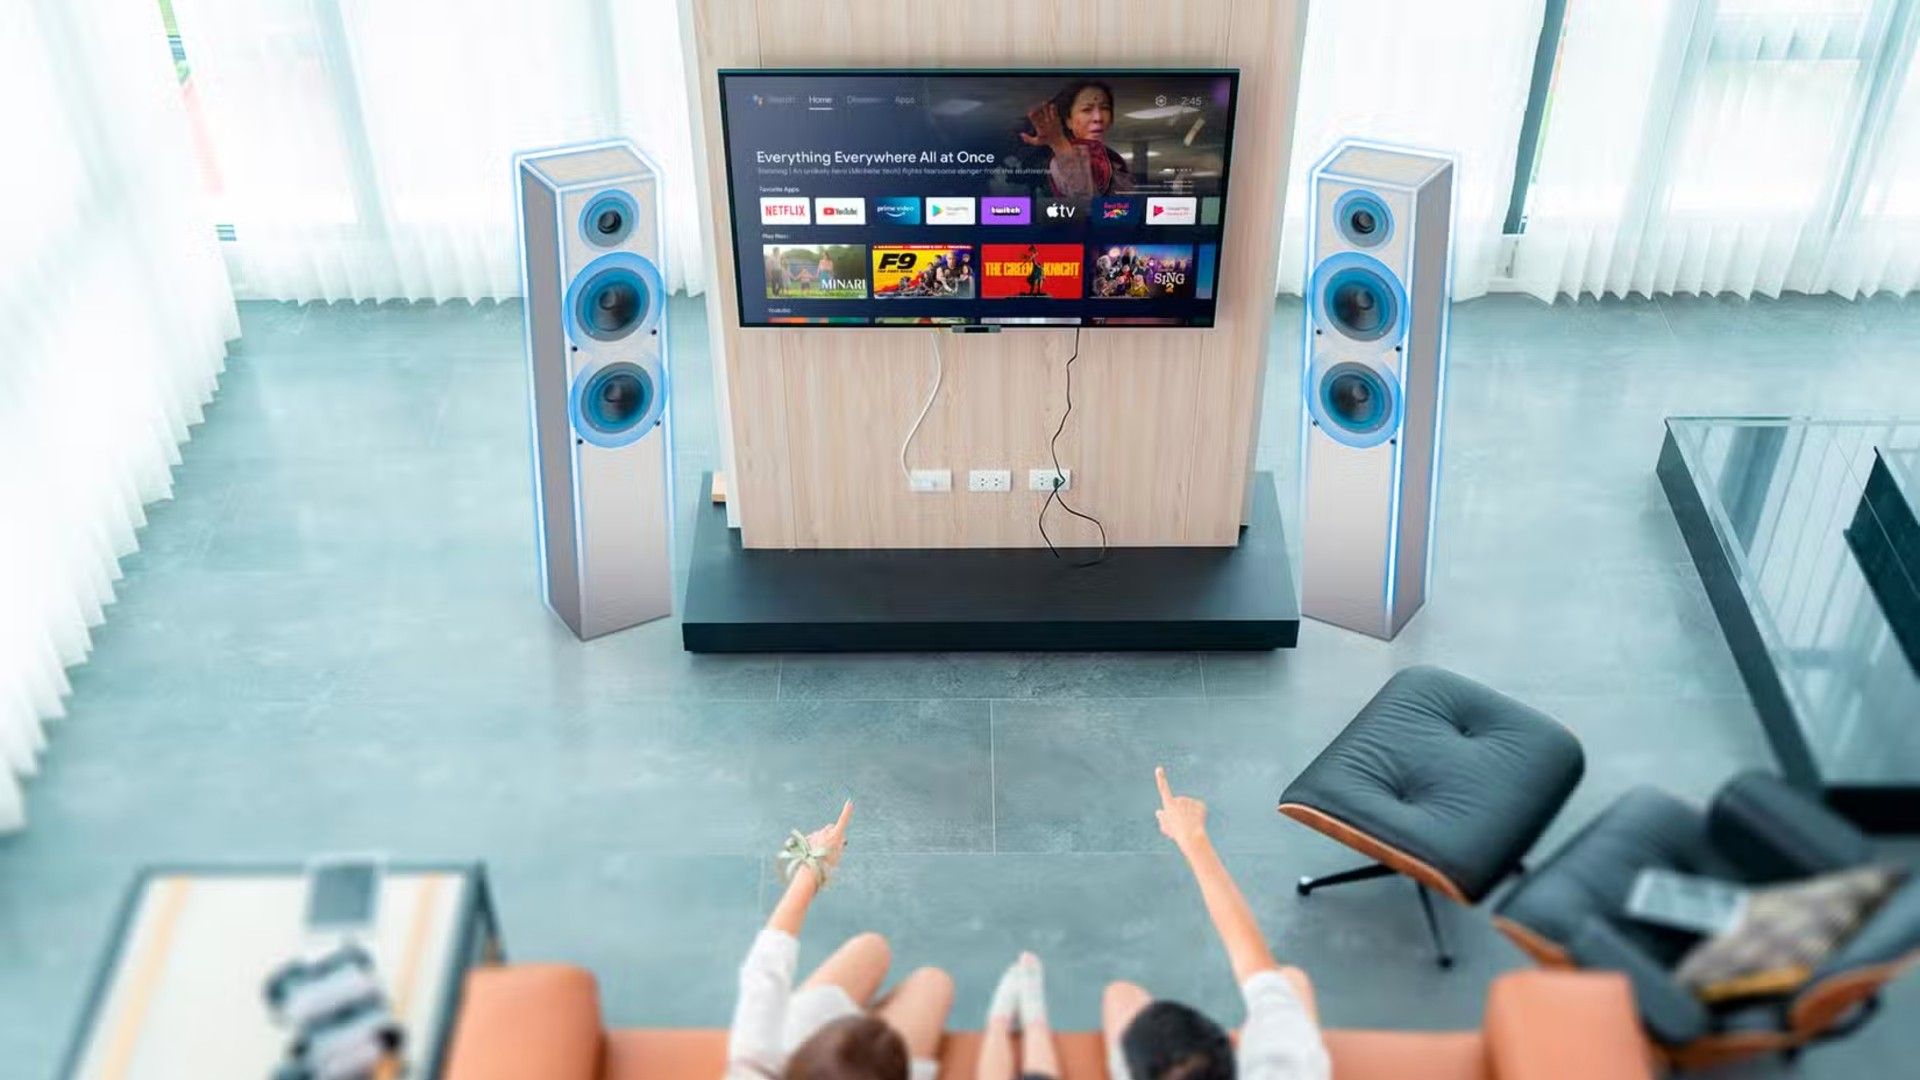
For the best results, place the center channel speaker directly above or below your screen, with its tweeter as close to ear level as possible. If that’s not an option, angle the speaker toward the main seating area.
It looks cool, but please avoid putting it inside a closed cabinet because the wood can vibrate and make voices sound muddy and cause rumbling noises. This happens because the speaker has to work harder to produce low frequencies in a tight space, which can cause unwanted interactions with the cabinet walls.
Beyond these dialogue-specific settings, you can also adjust the equalizer (EQ) to improve clarity. While every speaker and room is different, small changes to the mid-range frequencies usually help speech stand out. Boosting frequencies to around 2.5 KHz can make general dialogue easier to understand.
For deeper male voices, a slight boost around 120 Hz can add richness, while for higher female voices, boosting to around 240 Hz can help. If dialogue sounds too nasal, try reducing frequencies between 2 KHz and 4 KHz. To reduce harsh “S” sounds in speech, cutting frequencies between 4 KHz and 8 KHz often works.
Make small adjustments (like 1dB at a time) and listen carefully, because boosting too much can create unwanted distortion. Like everything else, just take the time to do tests and you’ll find your perfect setting.

Related
How I Set Up a Budget-Friendly Home Theater Audio System
Setting up an audio system for your home theater without paying much.
Modern home theater systems come with a variety of tools for adjusting sound beyond just the basic setup, all with the goal of achieving the clearest and most powerful audio possible. Most current AV receivers come with built-in automatic calibration systems like Audyssey, YPAO, Dirac Live, or Anthem ARC Genesis.
These systems make setup easier by using an included microphone and test tones to automatically identify speaker types, measure distances, set individual speaker volume levels, and adjust frequency responses to make the sound as good as possible for your room. While these automatic systems are convenient and often do a decent job with initial settings, they aren’t always perfect, and I always do a bit more.
For more detailed sound analysis and to work around the limits of automatic systems, advanced measurement tools are extremely helpful. A Sound Pressure Level (SPL) meter (either a dedicated device or a trustworthy smartphone app) is necessary for measuring sound levels accurately. When using an SPL meter, set it to C-weighting and slow response mode to get stable and precise readings across all frequencies.

Related
9 Top Apps to Calibrate Your Home Theater Sound Like a Pro
You don’t need to pay for high-performance tools to calibrate your home theater.
Beyond just setting volume levels, software tools like Room EQ Wizard (REW), that you can get from their website), often paired with a calibrated USB microphone, such as the UMIK-1, allow for deep analysis of your room’s acoustics and speaker performance. The UMIK-1 usually works best with a 90-degree calibration file, meaning you should point the microphone upward during measurements. Using REW with a calibrated microphone gives you detailed information about how your room affects sound frequencies and timing, helping you make smarter manual adjustments.
For a full understanding of your room’s acoustics, move the microphone to different positions and heights around the listening area. Many systems recommend at least five measurement spots, often arranged in an X-shape, with slight height changes for each new position.
The room should be as quiet as possible during testing, with no talking, fans running, or other background noise. Most importantly, keep the microphone at least three feet away from walls, couch backs, or other surfaces to avoid inaccurate readings caused by sound reflections.
Creating amazing home theater sound is a step-by-step process, and not something you’ll do just once. By carefully improving the room’s acoustics, finding the best spots for your speakers, and fine-tuning your receiver’s settings, you’ve set the stage for an incredible home theater sound experience that feels so real and smooth, it fades into the background, pulling you completely into the movie or music.
Related
9 Common Speaker Placement Mistakes (and How to Avoid Them)
Watch out for these pitfalls!
