You don’t need fancy hardware or confusing setups to build a NAS at home. Most routers already have the features you need, so with a spare SSD or hard drive, you can easily set up simple and secure shared storage for every device in your house.
Your Wi-Fi Router Can Become a Basic NAS
Most modern routers have a USB port, which you can use to share files across your home network. This USB port enables your router to perform extra tasks. To maximize this, you can connect an external SSD to your Wi-Fi router, creating a cheap and easy network-attached storage (NAS) that works for streaming, backups, and file sharing between devices.
This approach is quick and cost-effective. You use hardware you already own, and the setup process is straightforward. Before investing in dedicated NAS hardware, try this method to see if network storage fits your needs.
What You’ll Need
The hardware requirements are minimal, making this approach particularly appealing.
- Router with a USB port and file sharing support: Preferably a higher USB version for better speeds. Check your router’s specs or look for a USB port, then check if it’s USB 2.0 or USB 3.x. Confirm in the manual or settings that your router supports file sharing. Those with USB 2.0 might not have file-sharing support.
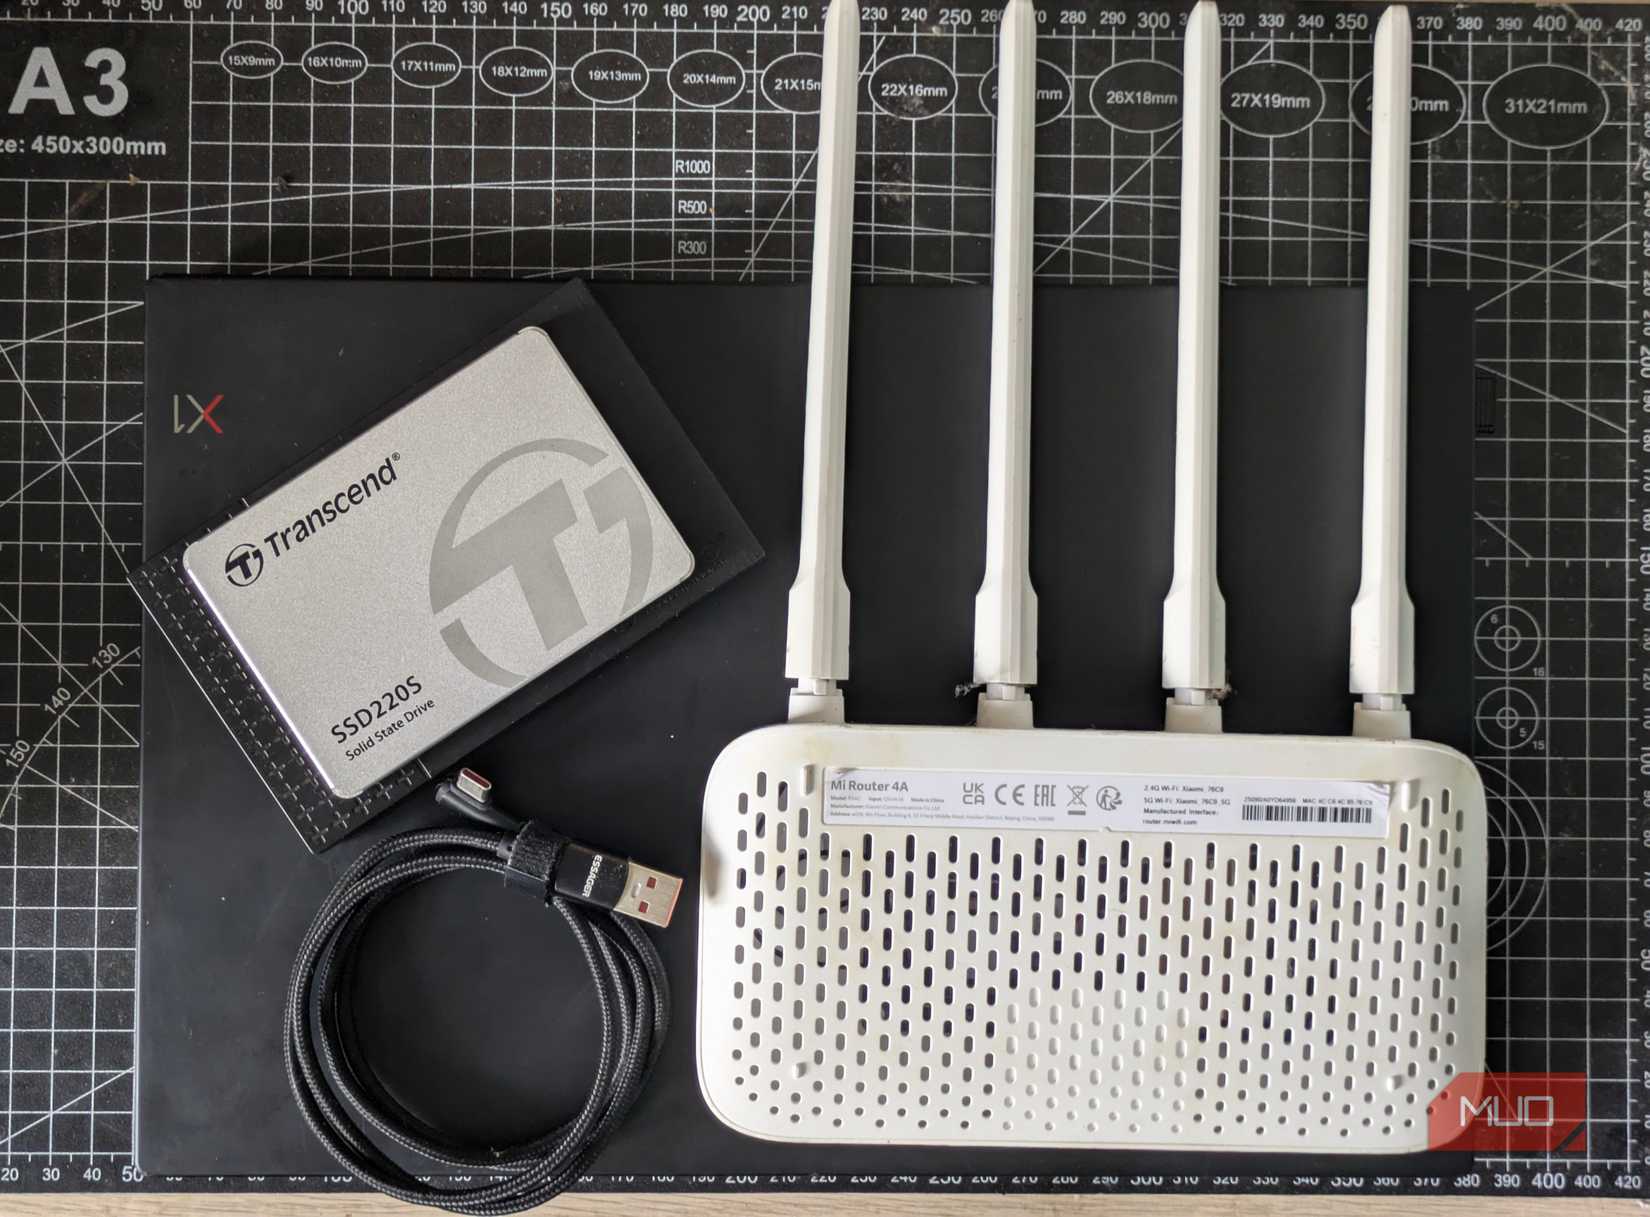
- External SSD or hard drive: Any external storage device will work. If you have an internal drive, use a USB enclosure. SSDs are quieter and faster.
- Drive formatted as NTFS or FAT32: NTFS is better for larger files and security. However, note that some routers don’t support NTFS at all, or require you to reformat the drive as FAT32/exFAT.
- Device for setup: You’ll need a computer or phone connected to your router’s network.
Most modern routers from brands like TP-Link, Netgear, ASUS, and Linksys include a file-sharing feature; however, it’s best to check your router’s manual or specifications to confirm. Some budget routers might have USB ports that only support firmware updates or mobile device charging, rather than file sharing.
How to Use Your Router and an SSD to Make a NAS
Start by connecting your SSD or USB drive to the router’s USB port. Some routers have an LED indicator that lights up when a USB device is properly connected. If the light doesn’t turn on, try unplugging and reconnecting the drive, or test it with a different USB cable.
Access Your Router’s Settings
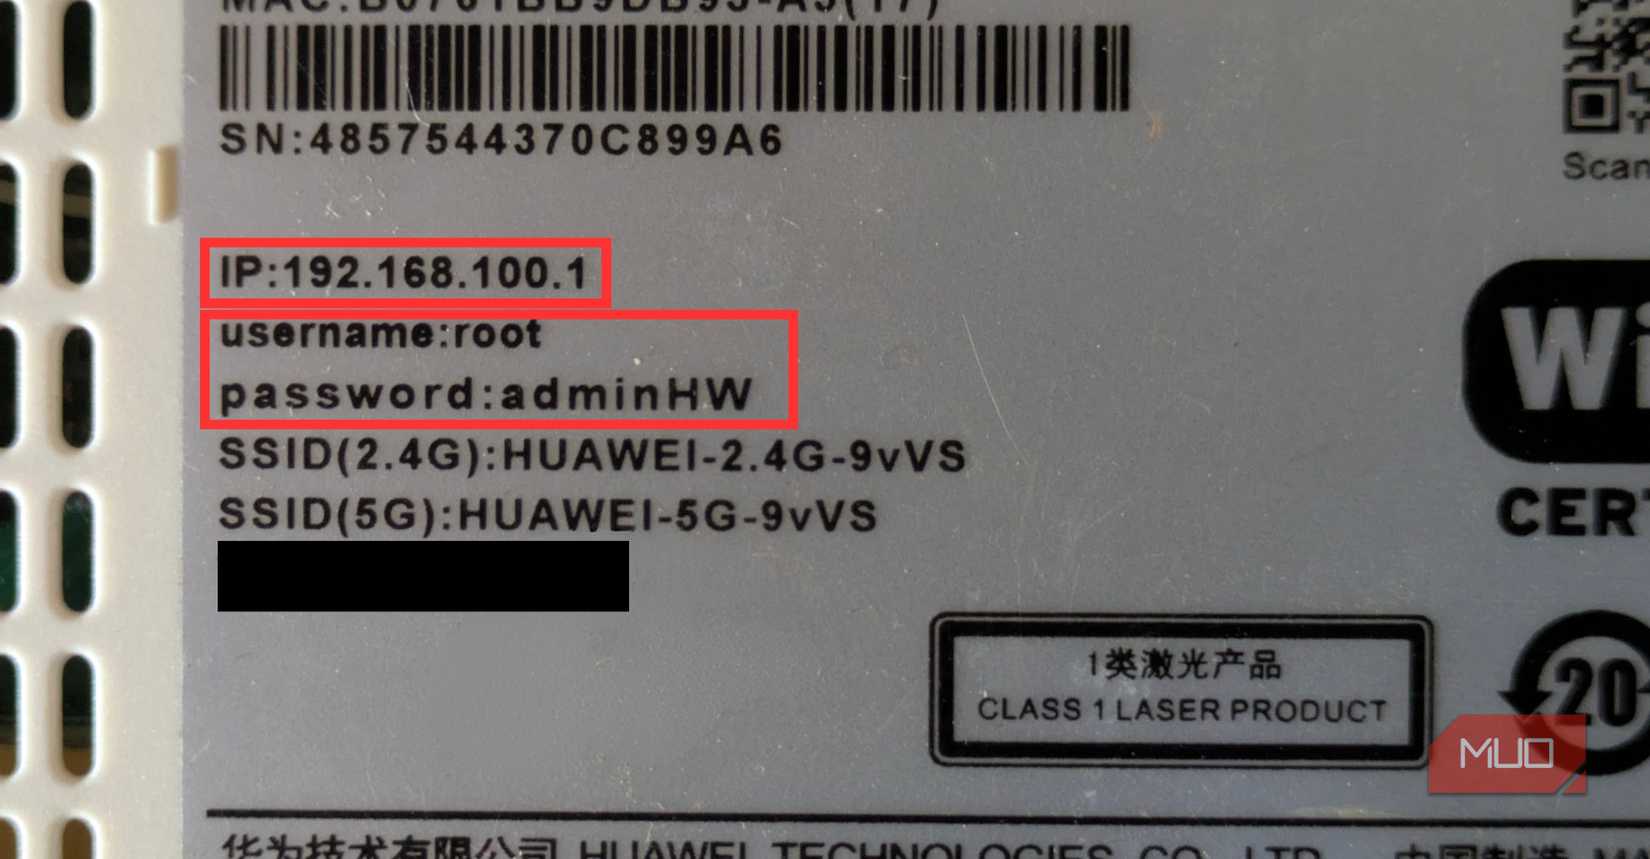
The next step is to log in to your router’s admin panel. Open a web browser and type your router’s IP address into the address bar. For most routers, this address is something like 192.168.1.1 or 192.168.0.1. If you’re not sure, check the sticker on your router or look it up in the manual. On my setup, the address happens to be 192.168.100.1. Once the login page loads, sign in with your administrator username and password. It’s usually “admin” for both or “root”. Again, check your router’s sticker on the back.
Find the USB Storage Management Options
When you’re logged in, find the USB or storage management options. You’ll usually spot these under Advanced settings, but the menu names will differ depending on the brand. Look for something that mentions Advanced, USB Settings, or Storage. In this section, you should see options for features such as DLNA (Digital Living Network Alliance) media sharing, SMB (Server Message Block) file sharing, or an FTP (File Transfer Protocol) server option.
DLNA media sharing is often limited to media files, including pictures, music, and video. For true network storage, you should use SMB or FTP instead. You can enable SMB file sharing by turning on the Network Neighborhood or the SMB sharing option. If you’re using a default budget router provided by your ISP, you may not have the SMB sharing option. In this case, you’ll have to access an FTP configuration panel.
Here, check Enable FTP Server, then set a username and password. I strongly recommend creating a username and password for accessing the shared drive, even if you’re only using it at home.

Specify the Folder Path for the USB Drive
Whether using SMB or FTP, you must specify the folder path you want to share by clicking on an option such as Browser or Search. This opens a directory tree with all the folders on your connected USB device. In the image below, I’ve selected my SSD’s mass storage partition.

Configure access permissions according to your specific needs. You can set up read-only access for some users or folders, while giving full read-write permissions to others. If you’re sharing media files that everyone should be able to access, you may want to skip authentication for those specific folders.
You’ll then want to save your configuration by hitting Apply, then wait for a few seconds for the FTP or SMB server to launch. You can then access your files in the file explorer on your computer, regardless of whether it is Windows, Linux, macOS, or another operating system. Click Network in the navigation pane, select your SSD, and log in with the username and password you’ve added to your server.

Alternatively, you can use your web browser to access your files. In the URL section, type “ftp://” followed by your router’s gateway (e.g., 192.168.1.1), then press Enter and enter your credentials to connect to the server. You should now have access to your files. Once connected, you can copy files to and from the drive just like any other folder on your computer.
Troubleshooting Problems With Your Router NAS
Using your router and a storage drive as a NAS is a great way to expand your network storage, but there are some issues you may encounter.
|
Issue |
Solution |
|---|---|
|
Can’t Connect to Drive |
Check your SSD. Some routers have compatibility issues with larger drives or specific file systems. If you’re using a drive larger than 2TB or 4TB, your router might not support it fully. In this case, you can either use a smaller drive or partition the large drive into smaller sections that your router can handle. |
|
Drive Recognition Issues |
If your router doesn’t detect the connected drive, first check that the USB connection is secure and the drive is receiving power. Try connecting the drive to a computer first to verify it’s working properly, then format it as NTFS or FAT32 before connecting it back to the router. |
|
Network Connectivity Problems |
Often, they stem from your devices being on different subnets or network segments. Ensure that all devices attempting to access the shared drive are connected to the same network as the router hosting the storage. If you have multiple routers or access points, devices connected to different ones might not be able to communicate with each other. |
|
FTP Connection Blocking |
Occurs due to firewall settings on your router or computer. Many routers include built-in security features that block certain types of connections by default. Check your router’s firewall settings and ensure that FTP (port 21) and SMB (port 445) are allowed if you’re using those protocols. For my router, I need to check the FTP ALG (Application Layer Gateway) setting so that my firewall doesn’t interfere. |
|
Can’t Access Files |
Issue is likely related to authentication or permissions. Double-check that you’re entering the correct username and password, and verify that your user account has the necessary permissions to access the shared folders. |
The other fix I’d suggest is to update your router. If nothing is working as it should, check if your router has a firmware update available.
Limitations of the Router NAS Setup

While router-based NAS solutions work great for basic file sharing, they come with significant performance limitations compared to dedicated NAS hardware.
Transfer speeds represent the biggest bottleneck in this setup. Even with an SSD, you’re likely still running on a USB 3.0 connection (unless your drive and router support USB4). You’re likely to see speeds faster than 40-50 MB/s, and performance drops significantly with multiple concurrent users. A dedicated NAS device can easily achieve transfer speeds of 100 MB/s or more over the same network connection, making it much more suitable for backing up large amounts of data or streaming high-resolution video files.
Most consumer routers aren’t designed to handle intensive file operations, and their processors can become overwhelmed when multiple users access large files simultaneously. This could be a significant reason for your Wi-Fi to drop connections randomly on your devices.
Lastly, feature limitations make router-based NAS solutions less flexible than dedicated hardware. You won’t have advanced features like RAID protection, automatic backups, remote access capabilities, or the ability to run additional applications. If your drive fails, you lose all your data, since there’s no built-in redundancy or backup system.
Despite these limitations, router-based NAS solutions excel at simple file-sharing tasks. They’re perfect for streaming media files to devices around your home, sharing photos between family members, or providing basic backup storage for documents. The key is understanding what this setup can and cannot do, and not expecting enterprise-level performance from consumer hardware.
For most home users who want to dip their toes into network storage without a significant investment, the router-based approach offers an excellent starting point. You can always upgrade to a dedicated NAS later if you outgrow the capabilities of your router setup, and the experience you gain with this simpler system will help you make better decisions about more advanced storage solutions.